How to Add a Favicon to Your WordPress Website
You might have heard the saying that every part of your website is essential real-estate. The small corner at the top left of your browser tab isn’t exempt from that saying.
WordPress favicons are a small yet highly effective aspect of your branding efforts. While they do appear at bookmarks, browser tabs, and history entries, favicons are severely underrated. Just look at the top of your browser tab, and you will see the codup.co favicon on display.
In this post, we’ll be discussing three ways in which you can add a favicon on your WordPress website. So, let’s dive right in!
How to Create a Favicon
To create a WordPress favicon, you would need an image editing software. It doesn’t matter if you wish to use Adobe Photoshop or an online image editing software like Lunapic.
If you already have a logo for your brand, then you can resize it in a square, and use it as a favicon. We recommend this method since it keeps the branding of your site consistent from top to bottom.
When you’re finished creating a favicon, save the file with the PNG extensions and keep the sizes at 128 x 128.
Converting your image into a Favicon
Now, you have to convert your file into an ICO file, which is the main extension used when uploading a WordPress favicon.
To perform the conversion, you can use an online tool like Convertico. Just upload the file and see the conversion happen.
If you want to preview the site in real-time, then you can use a tool like Dynamic Drive. When you’re done, download the file, and you’re ready to add the WordPress favicon.
Inserting the WordPress Favicon
Let’s look at the various ways you can add the Favicon to your website. Ideally, you have three options to choose from:
- Uploading through the WordPress theme customizer.
- Uploading the Favicon through a plugin.
- Uploading through the FTP/File Manager.
You can use whichever method you find most comfortable.
Ideally, we would recommend you the third step since it doesn’t involve installing a new dependency (plugin), and its code into your WordPress workflow. Also, you won’t lose your settings if you decide to change the themes.
But for the sake of full-disclosure, let’s look at all three methods, shall we?
1. Uploading through the WordPress theme customizer
There are specific themes that either allow you to add a favicon through the theme customizer or its custom interface. If you the latter, then great, upload your Favicon. If you don’t, then follow along.
From your WordPress dashboard, go to Appearance > Customize. See where you can find the option for uploading the WordPress favicon. Now, some themes might not support it while some do.
If the option is present within the theme, then all you have to click on it and then upload the file. Note that, with the WordPress theme customizer, you can even upload a PNG file.

2. Uploading the Favicon through a plugin
If your WordPress theme’s theme customizer doesn’t have the favicon upload option, then you can always use a plugin.
From the WordPress plugin repository, search, install and activate the All in One Favicon. It’s a simple plugin that lets you upload a favicon easily.
This plugin is a double-edged sword. Where on one side, you can easily upload a WordPress favicon, on the other, you add more code and dependency to your WordPress site with that plugin. That said, if convenience is your top priority, then this plugin is for you.
The best part about this plugin is that it doesn’t limit you to favicon extensions. You can have a PNG, GIF, or even an ICO file as your WordPress favicon.
3. Uploading through the FTP/File Manager
Remember when we said to convert your PNG favicon into an ICO file? Well, here’s where it will come in handy.
This is the option we highly recommend to our users. The primary benefit to this is that unlike Step # 1, you don’t have to rely on your WordPress theme, having the favicon upload functionality. Also, unlike Step # 2, you don’t have to add dependencies to your website in the form of plugins and extensions.
Uploading a WordPress favicon directly inside the FTP plants it into the root directory of your website. Being at the deepest level, you don’t have to worry about having a theme functionality or using a plugin.
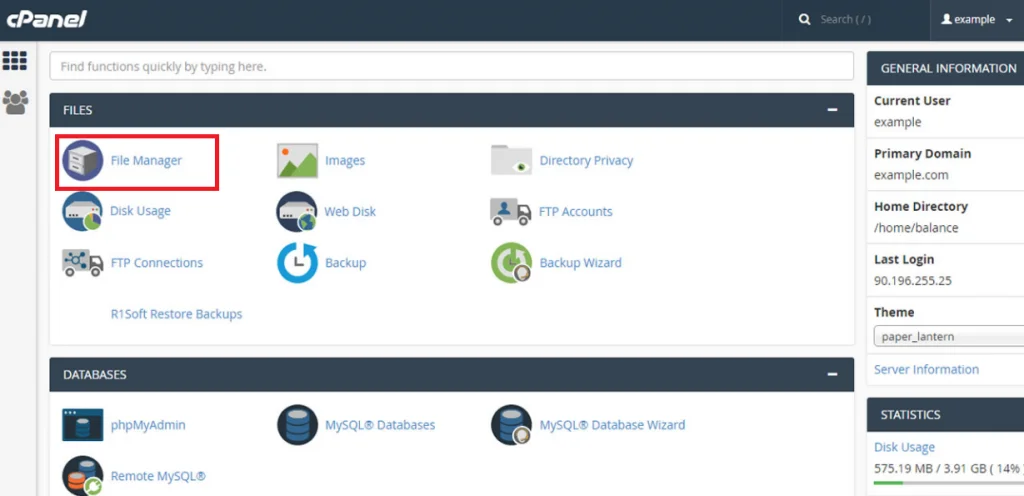
To perform this action, fire up your File Transfer Protocol (FTP) or cPanel. After that, upload the WordPress favicon into the root of your website. It is important to remember that you can only upload the ICO file.
Final Words
In this article, we discussed three ways in which you can add a favicon on WordPress.
Before we end this article, it is important to tell you that to finally see your Favicon in action; you have to wait a little while before it shows up. If you don’t know a favicon appear even after you’ve done so much, then review the steps mentioned above to see if you did everything right the first time. hire wordpress development company
We hope you enjoyed this article!
Read Also
- How to Fix the WordPress HTTP Error
- How To Update PHP Version In WordPress
- Detecting WordPress Themes with ‘WhatWPThemeIsThat’
- How to Embed PDF Files in WordPress Post and Pages
- How To Perform Websites Migrations With Migrate Guru