How to Fix the WordPress HTTP Error (Uploading Images to Media Library)
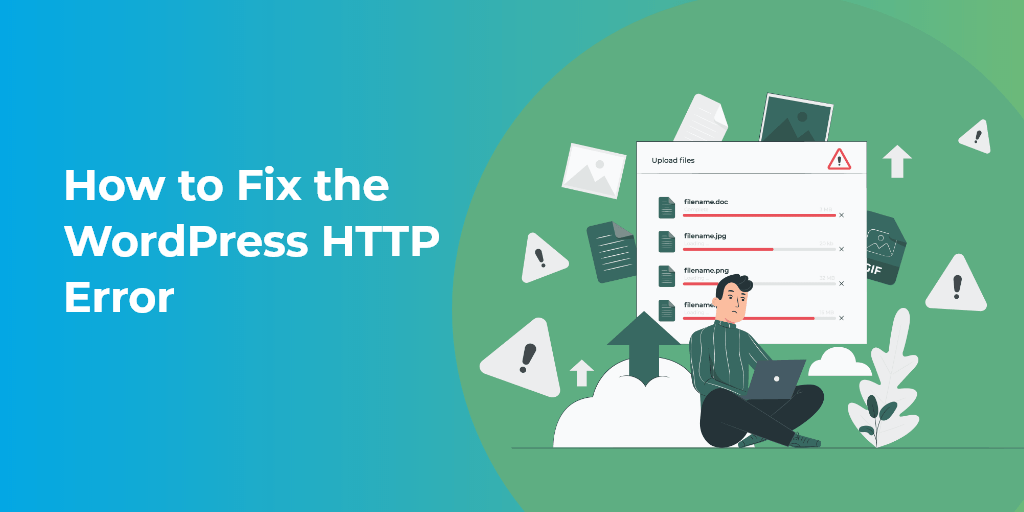
There are specific WordPress errors that are just too frustrating to see. The HTTP image upload error is one of them.
It’s quite common, but it’s an issue that you can encounter when you’re working with WordPress. It occurs when you’re trying to upload media files on your site, a point we’ll elaborate on later. Like most WordPress errors, the exact causes are several, but they are relatively easy to fix.
In this post, we’ll be detailing the five ways in which you can solve this error on your WordPress website.
So, let’s begin!
What is the WordPress HTTP Error?
This error usually occurs when you’re trying to upload an image or video. It originates from the built-in media library tool. If we were to use something other than WordPress, most users would have been able to identify this error.
But since we’re using WordPress, we only get a vague “HTTP” error that doesn’t help us debug. The reason behind this is due to the many ways through which this error can occur.
1. Refresh the Page
The very thing you should refresh your page. Often, this solves the error and lets you upload images without any issues.
Sounds relatively simple, right? Well, there is no catch. It’s that easy! If you can solve the issue by refreshing, you don’t need to read the rest article.
But don’t forget to read why refreshing works.
For one reason or another, your web browser might have lost the connection, but only for a temporary basis. WordPress would show an error if you were to upload your images or media files during that period.
Besides your internet connection, another cause of this error could be due to your WordPress hosting provider. Their server might have disconnected for a fraction of a second, which could have caused the error.
The last case we’ll talk about involves your active WordPress sessions. If you were inactive and had set a limit to your active session, then WordPress will log you out if you’re inactive for too long. If you try to upload media during that period, your browser will display the WordPress HTTP error.
This is what the session expired error looks like.
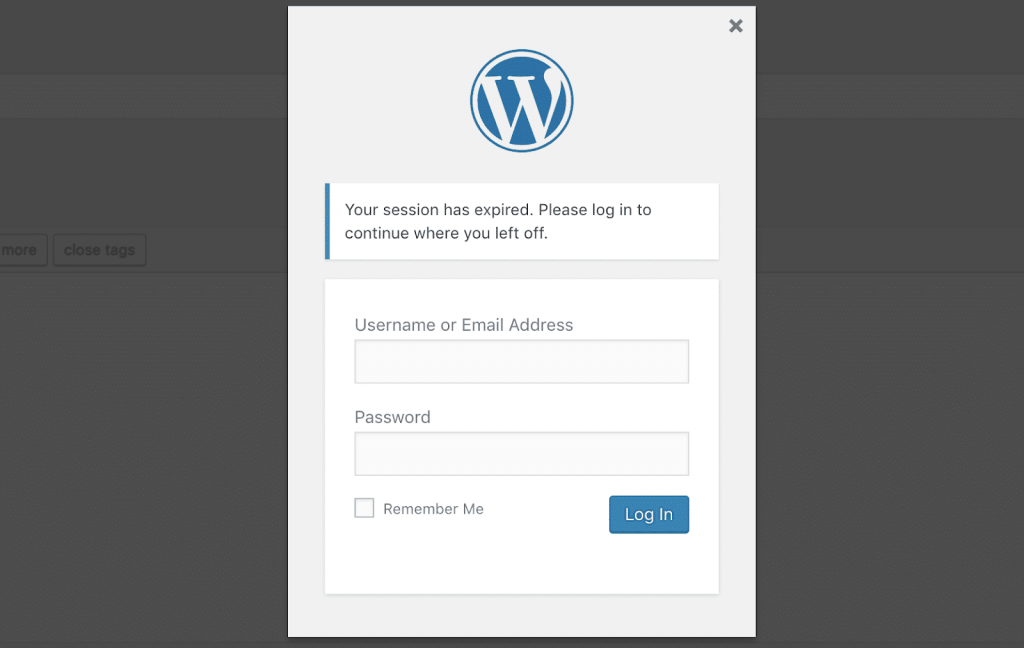
The key is to merely log-in, and you’re back on the page you were working on. If you’re still getting the WordPress HTTP error, then refresh the page, and you will be able to upload your media.
2. Optimize Your Image Files
One way the error might occur is that the image you’re trying to upload is too large.
You can quickly solve this error by adjusting the height and width of the file. If it’s in MB’s, then try to reduce it to KB’s. Now image optimization is relatively easy on WordPress. You can circumvent the error with a WordPress plugin.
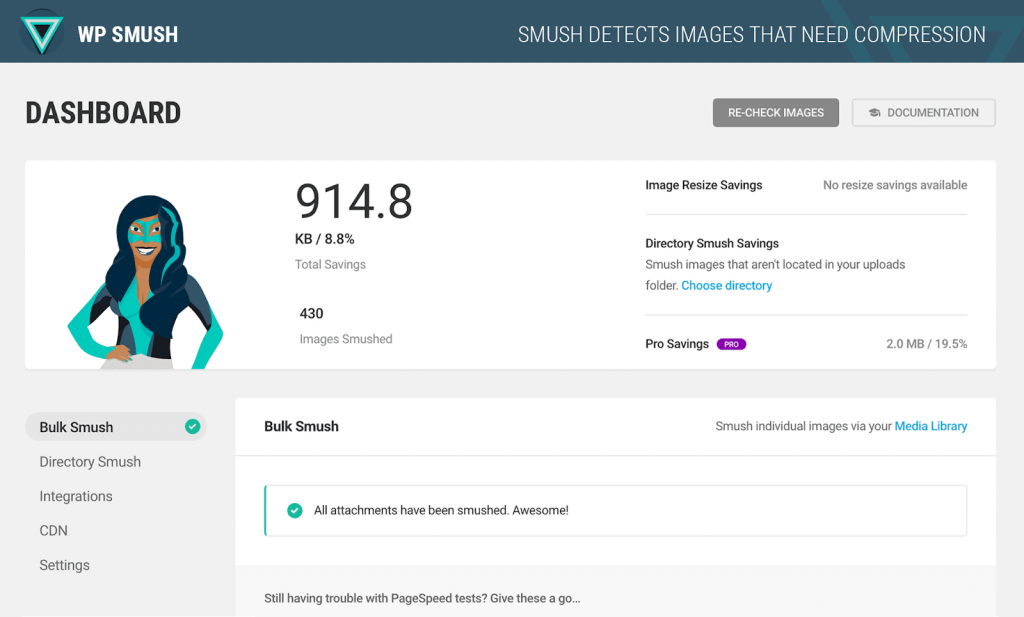
You can use a plugin like Imagify or Smush Image Compression to reduce file sizes without losing your image’s display quality. Whatever plugin you use, make sure that they aren’t optimizing images locally but on their servers.
If they are optimizing images on their servers, it means they’re utilizing their resources. If the opposite is the case, and your servers are being used to optimize images, it can impact your site’s performance.
You can now upload high-quality media on your WordPress website since WordPress supports responsive images from the get-go. It is recommended that you upload high-quality images on your WordPress so that you get the most out of the display.
That being said, if you’re using high-quality images, you need to optimize them to the best possible degree to avoid performance and display issues.
The last thing we need to talk about is to highlight the difference between PNG and JPG files. You can use either one of the two depending on your requirements. Bear in mind, however, that both these formats have varying file sizes.
3. Rename Image Files
Your image file’s name can play a part in getting the HTTP image uploading error on WordPress.
Because of this, it’s not that unintuitive if you rename the image file. WordPress appends a number at the end of the file name to help differentiate between files in the case of duplicate files. But if that doesn’t work, you can always rename your file.
Note that WordPress doesn’t let you do this to already uploaded images. What you can do is rename the file from your computer and upload it to your site. As a best practice, if you’re uploading images that are already present, try to append a number next to them.
Another thing to look at is to avoid using images that include special characters in them. Anything from asterisk, apostrophes, and such should be renamed. This may or may not cause issues with your website, but you should always try to avoid them so that there are no problems.
4. Deactivate Your Plugins and Themes
Two of the more advanced things you can do to bypass the HTTP image uploading error on WordPress is to deactivate your plugins or revert your theme to the default one.
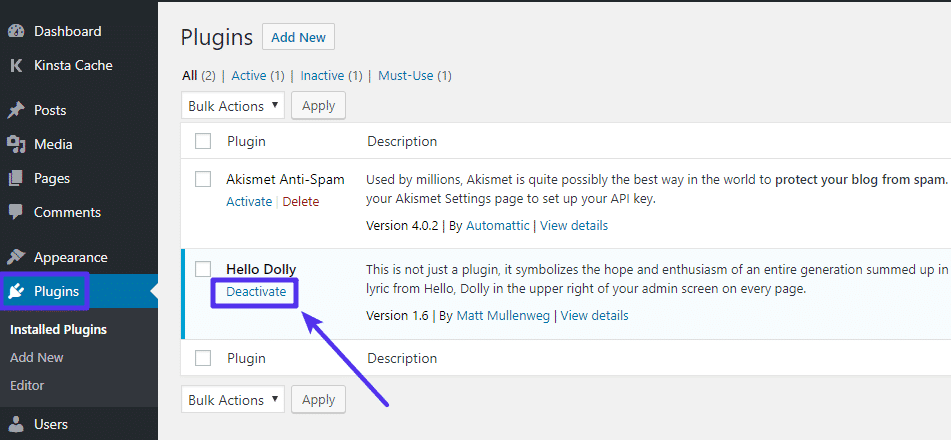
Let’s look at the plugins first up. Because of WordPress updates, your plugins get corrupted and cause compatibility issues within WordPress. As such, you see pesky errors like the Error Establishing Database Connection or the White Screen of Death (WSoD).
If you’re on the live site, it won’t be advisable to disable all your plugins. Some plugins add unique functionalities, and you don’t want to sacrifice them. What you can do is create a clone of your website in a staging environment.
When you’ve cloned to the staging environment, you can start deactivating your WordPress plugins. Once deactivated, activate them step by step while uploading images on WordPress.
For example, if you activate a plugin and then see the error, that means the plugin was the one causing the error. Now, delete that plugin and then keep checking other plugins as well. Who knows? You might have two or more plugins that caused the error.
As a side note, once you’ve deleted the plugins, it’s best to send an error report to the developers. This will prevent the plugin from causing problems on other people’s websites. It’s like giving back to the community.
Now, let’s look at themes. If you’re facing the HTTP image upload error on WordPress, it’s best to revert your current article to the default one. Now, you might lose some of your theme settings, but if it proves useful in circumventing the error, then it’s worth doing.
Similar to plugins, we would advise you to switch themes while you’re in staging mode. It will help you to avoid breaking your site while you make the necessary changes to your site.
5. Consult with Your WordPress Host
If the steps above didn’t work and you’re in a bind about what to do, it’s time you contact your WordPress host regarding this issue.

We recommend doing this because most WordPress users can’t either be bothered by WordPress’s technicalities or are too scared to go deep into the advanced things.
In turn, your hosting provider will be able to fix your problem by going in-depth and providing you the details that caused the error.
Final Words!
And there you have it! These five steps are perhaps the easiest to solve the HTTP image upload error on WordPress for beginners. Hopefully, these steps will help you resolve the error on WordPress. hire wordpress development company!