How To Add Two Factor Authentication On Your WordPress Website

Two-factor authentication has been set up on your Google account, right? For example, on one of your social media profiles, perhaps? That is the method where you enter your password and then receive a notification on your mobile device to prove it was you who actually tried to log in.
Wouldn’t it be a good idea to have another layer of security? For example, even if someone were to obtain your password, they will not be able to gain access to your account until you have given permission. You hold the power!
WordPress two-factor authentication is showing up all over the Internet, as more and more website owners seek ways to protect their logins.
Would you like to implement an additional two-factor authentication method for your WordPress site?
Actually, that is quite doable.
In this WordPress security guide, we will instruct you on how to do it. You’ll see tons of security settings you have, as well as instructions on how to set up Two-Factor Authentication on your WordPress site.
So without any further ado, let’s begin.
WordPress and Two-factor authentication
You may implement two-factor authentication to your WordPress site in the same manner as you would any other web property. With this addition, your WordPress site gains more protection, and there is no such thing as too much security!
Due to its popularity, WordPress websites are usually the prime target for brute force attacks, malicious attacks, and hackers.

While password security is critical, adding an extra layer of security is worthwhile. That’s why it’s always said it’s prevention is better than cure.
So now tell us, What do you understand by two-factor authentication, and how does it work? How are you going to integrate it into your WordPress website? Which two-factor authentication plugins are the best to use?
Introduction to Two-Factor Authentication
You may add an additional layer of protection to your WordPress login pages by using 2FA, which is two-factor authentication. Your WordPress site can’t be hijacked even if the attacker guesses your password, because you use 2FA.
A code will be always sent to the registered, where you may then log in to WordPress using your username and password. Entering a site with the code will do the trick.
Authentication can take one or several steps, but we’re all used to having a single-step approach, which is utilising a password. The longer and more complex the password, the less opportunities there are for others to compromise it.
Even if you are diligent in generating a strong password and changing it frequently, it’s possible that someone has infiltrated your system.
This is where Two-Factor Authentication comes into action.
Enabling two-factor authentication on your WordPress website
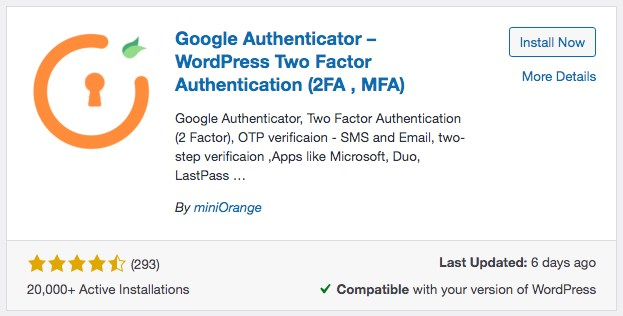
One of the easiest and simplest ways to install 2FA on your WordPress websites is by activating the Google Authenticator plugin.
Using Google Authenticator plugin to enable Two-Factor Authentication
Step 1
First of all, go to your WordPress dashboard click on ‘Plugins’. Now click on ‘Add New’ to download the plugin.
Now that you have installed the plugin, click on ‘Activate’. Once the plugin is activated, now you’ll be asked to click on ‘Logout and configure’ or ‘Advance Settings’.
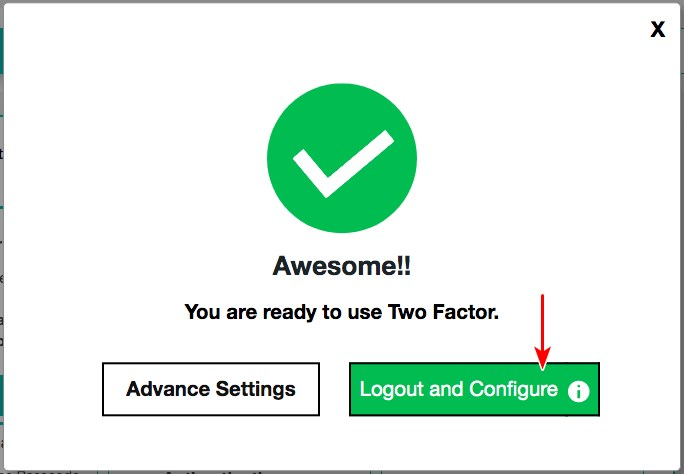
Go ahead and click on ‘Logout and Configure’.
Step 2
One you have done that, re-login into your WordPress site and you’ll be asked to choose your preferred two-factor authentication option for your site.
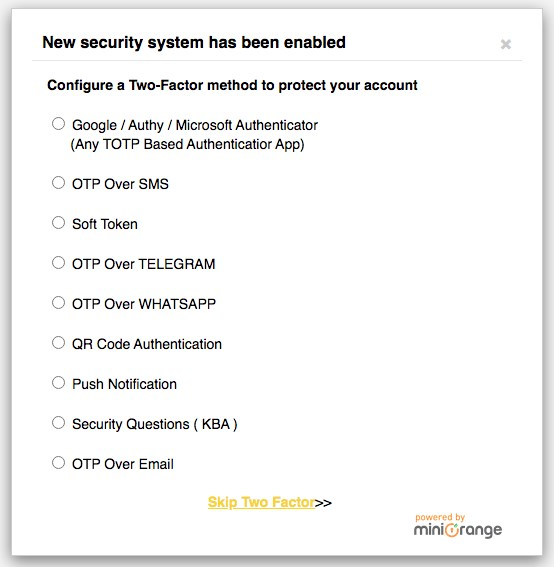
You can select any of the available options to activate 2FA on your site.
However, we’ll go with the first available option – Google / Authy / Microsoft Authenticator (Any TOTP Based Authenticator App).
Now you’ll be redirected to a screen where you’ll be asked to choose the Authenticator app. Click on the drop down menu to select your app. Once you’re done with that, use your phone to scan the QR code.
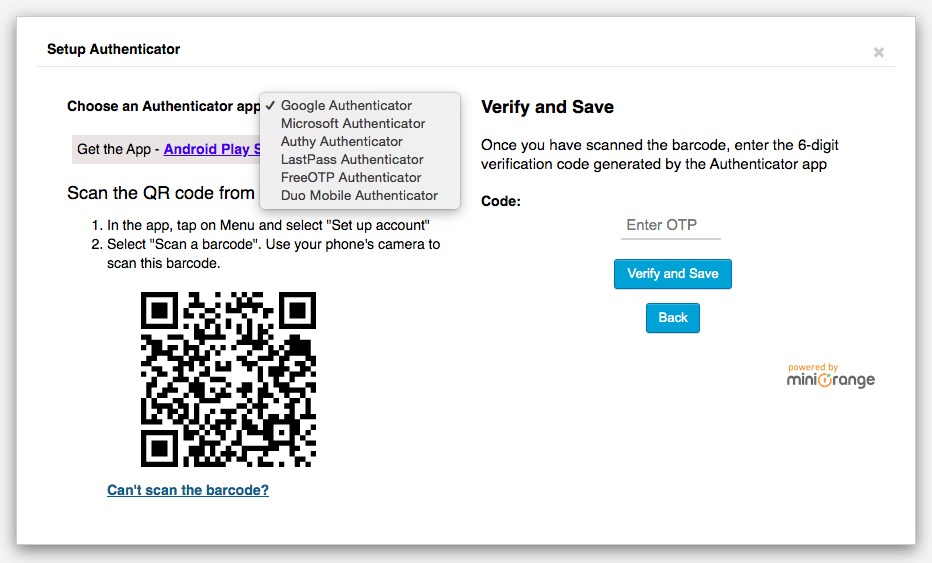
If you don’t know how to do it, just scan any QR code scanner from Play Store or App Store to continue the process.
After scanning the code, you’ll receive a message on your phone that will contain a 6 digit code. The code you’ll receive will be generated by the selected app i.e Google Authenticator app.
Now enter the 6 digit code also known as OPT. Now just hit the ‘Verify and Save’ button to proceed.
After that you’ll see a list of recovery codes on your screen.
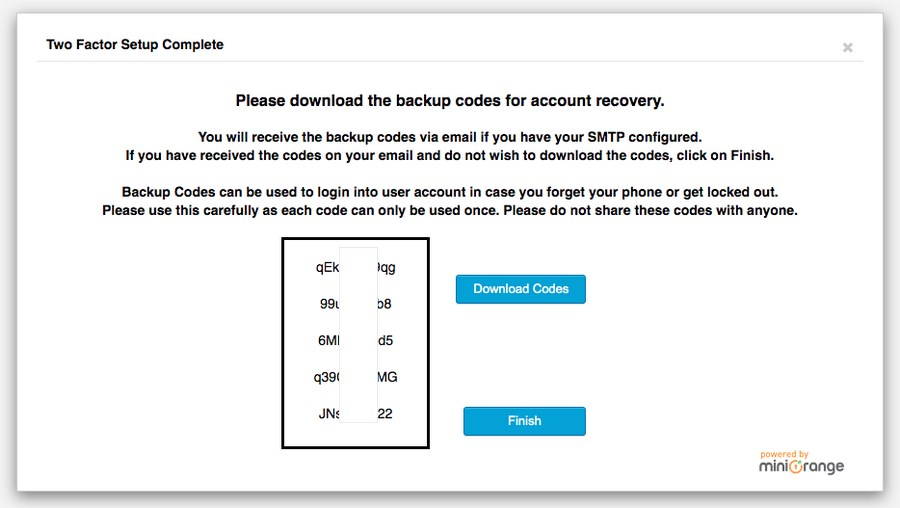
These recovery codes are also called backup codes. For instance, if you have forgotten your phone somewhere or you’re locked out, you can use these recovery codes to log into your WordPress site.
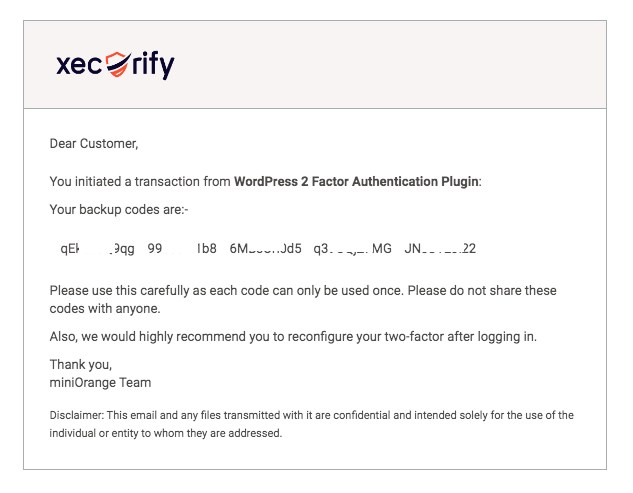
We highly recommend you to download this list of recovery codes somewhere safe. Plus, you’ll also receive this list of recovery codes through an email.
Once you’re done, click on ‘Finish’.
Step 3
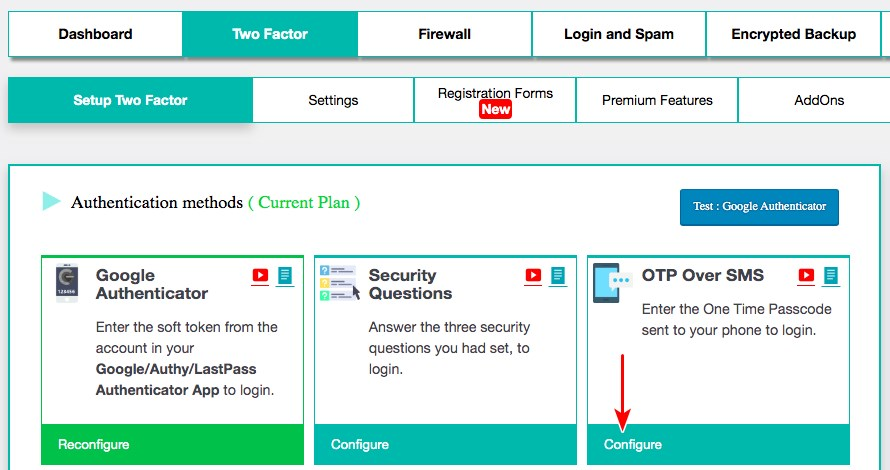
We hope you’re following us till here. Now if you’re done with all the steps mentioned above, simply head over to miniOrange 2-Factor > Two Factor.
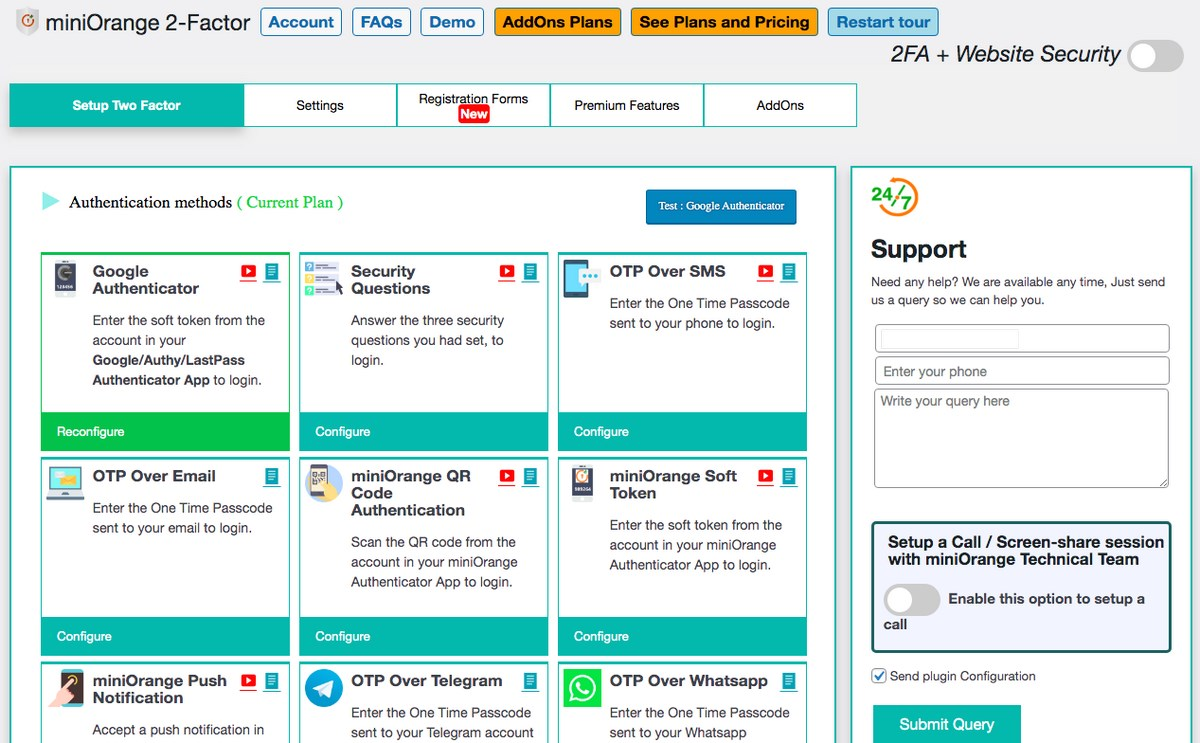
Now you’ll see that Google Authenticator is already configured on your WordPress site. Apart from using Google authenticator, you always opt for other additional methods to implement 2FA on your site such as, OPT over SMS, security questions, OTP over email or Whatsapp, to name a few.
Now to enable two-factor authentication your WordPress, look for 2FA + Website Security, one you find it, click on the toggle.

Once you’ve enabled the settings, check out for a set of links on the left-hand of your screen under the miniOrange 2-Factor. Moreover, you’ll be redirected to your dashboard.
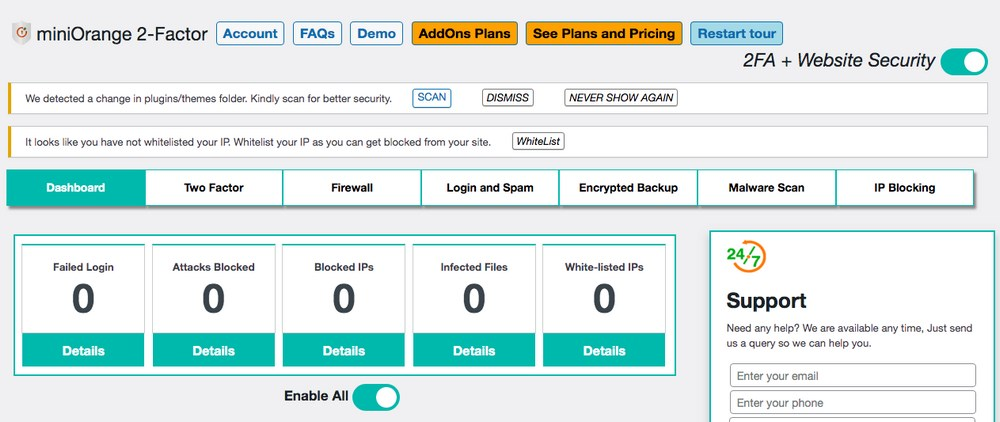
Take a look at your dashboard. This dashboard will provide information on failed login attempts, number of brute force attacks, etc.
Using OTP (over SMS) to enable Two-Factor Authentication
Now follow these steps if you wish to configure OPT over SMS authentication on your WordPress site.
Step 1
Before we proceed, if you’re a new user, you first have to get your account registered on miniOrange.
Once you’re done with registration, you’ll see a section on your screen that tells you the remaining number of SMS and Email transactions allowed.

If your credits are exhausted, you’ll need to pay to get more.
After creating your account, now you can configure the 2FA method (OPT over SMS) on your site.
Step 2
Now sign into your account, to configure the 2FA settings. Click on ‘Configure OPT over SMS’.
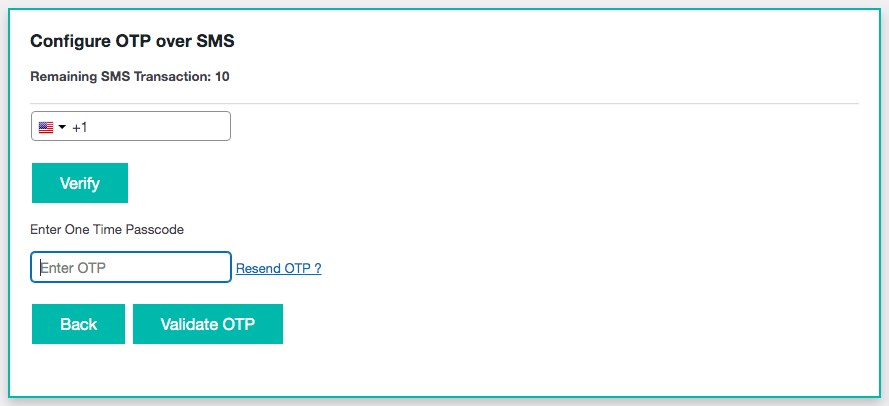
Now add your mobile number and hit the ‘Verify’ button. You’ll receive an OPT on your phone via SMS.
Enter the provided code and click on ‘Validate OPT’ to continue.
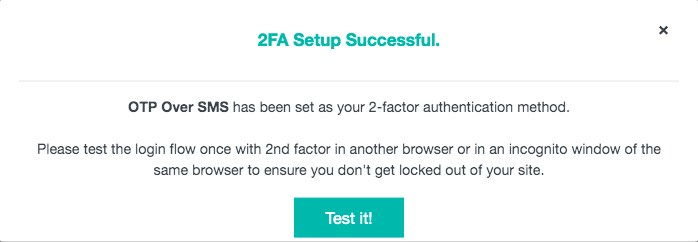
That’s all! Congratulations, you have successfully enabled 2FA on your WordPress website.
Conclusion
It’s likely a major priority to maintain your website safe if you’re running an online business. You would also wish to make sure that your user and customer data are secure and protected.
WordPress websites are frequently hacked and brute-force assaults are frequently used against them because of their popularity. And unless you want to find yourself on the receiving end of the fire department, it’s advisable to add an extra layer of protection to your website by using two-factor authentication.
WordPress does not include two-factor authentication out of the box. Luckily, because of all the available plugins, you can set up two-factor authentication quickly. The majority of these services are free and simple to use, and they provide an excellent layer of protection for your website.
We hope this WordPress security guide will help to keep your WordPress website safe and secured.

Tooba Nadeem
Tooba Nadeem is an experienced technical writer with 5 years of expertise in technical writing. Her extensive research and knowledge enable her to provide comprehensive insights into various interesting topics. She excels at presenting complex information in simplified language, ensuring clarity for the audience.


nice blog found it very informative