How To Optimize WooCommerce Product Category Page To Boost Conversions
There are a few things more lamentable than setting your foot in a shop that doesn’t seem to believe in the ideology of “proper, well-organized product display”.
A shop where finding what you need is a painstaking task, which you would rather avoid by finding the exit door as soon as you can.
If you have ever been in that position, you know how important it is not to make your customers go through that pain and trouble.
You know how important it is to display your products in the most optimum way so that your customers can easily browse through your collection of products and find what they need – as quickly as possible.
People are busy these days, remember? They are looking for quick shortcuts of everything. If you can invent a bot that can read your customer’s minds and serve them the exact product they need, that would be awesome.
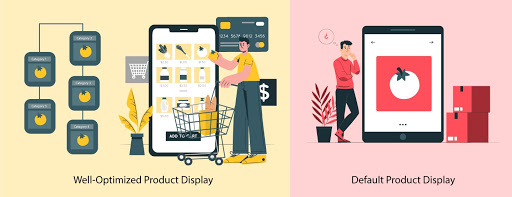
The bottom line is: the product display in your online store should be well-optimized so your customers don’t face a hard time finding what they need.
However, when talking about product display in an online store, most people narrow their focus on Product Pages and the Homepage.
What they often overlook is the Product Category Page, which not only serves as the gateway to Product Pages but also as a landing page where the visitor often lands when looking for something – either from search engines or through the store’s navigation.
Why Should You Optimize Your Product Category Pages?
The visitor that lands on your Product Category page is a hot prospect who is interested in what you’re selling. But whether the sale will be made or lost depends on how you lead the prospect through the category page towards checkout.
The category page or the product listing page is where you list all your products. The customer gets an idea of the collection of products you offer and makes the decision of which one to buy and add to their cart.
A well-optimized Product Category Page makes it easy for customers to find what they need and streamlines the buying process so the customer can quickly add products to their cart and move to checkout.
A few things can help you optimize your product category pages:
- Displaying your products in the most optimum way
- Adding Quick View feature that allows customers to view products and their details without leaving the category page
- Buy Now buttons that will take the customer directly to checkout
- Filters that allow customers to filter products using different parameters
- Quick Order functionality that allows customers to place bulk orders and buy multiple products without spending too much time
Read Also: Boost Conversion Rate with WooCommerce Quick Order Plugin
Although it takes a lot to fully optimize your Product Category Page and streamline the buying process, what we’re talking about in this post is the Product Display in particular.
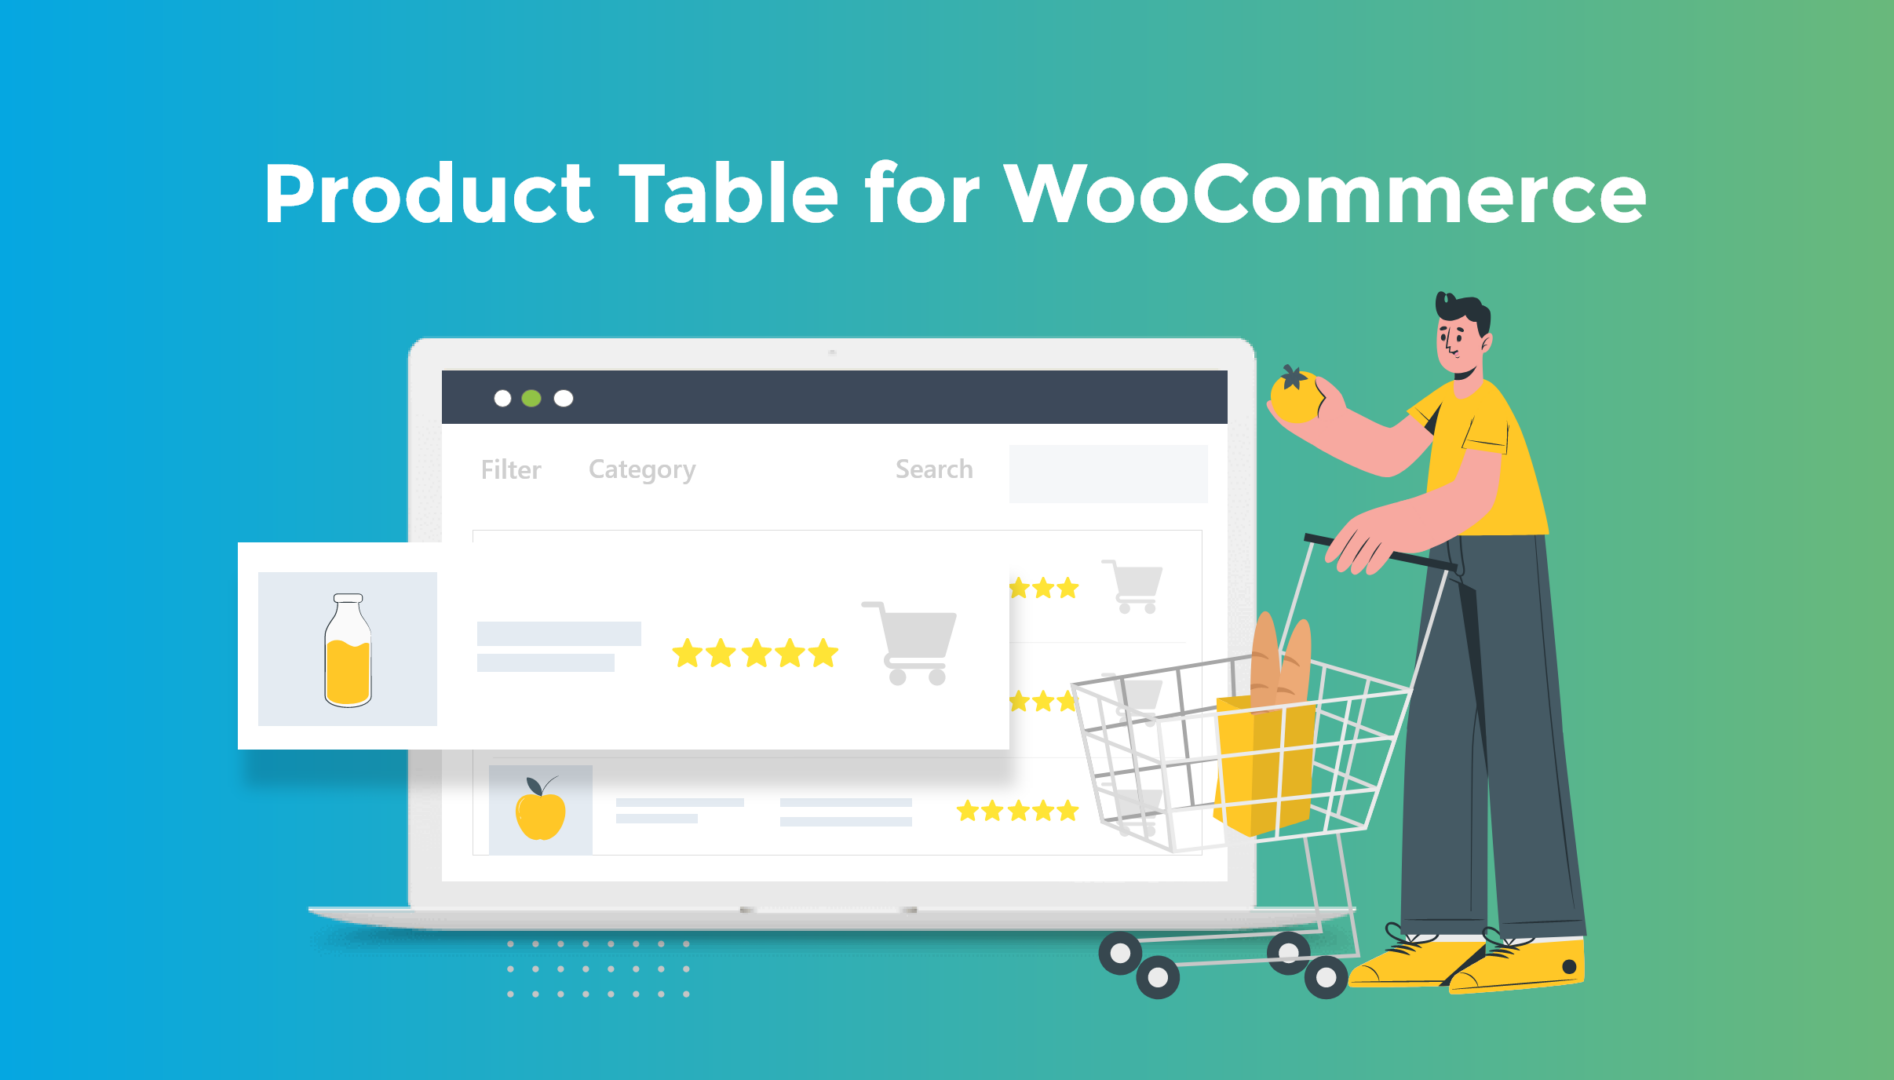
Why Should You Display Products in Table Format?
The way you display your products on the Product Category page matters a lot. By default, WooCommerce displays products in a grid format on the category page.
But while it works well for many kinds of products, it’s not the most ideal way for all kinds of products.
Take an online book store for example. Displaying books in a grid format is no use for a book shop since it’s not the cover image that matters – it’s the book description that customers will want to see when buying books. Hence, a table format that displays the book description along with the thumbnail images will deliver a better buying experience.
Compare the two layouts – grid format and table format – of an online book store and see how the table format optimizes the customer experience.
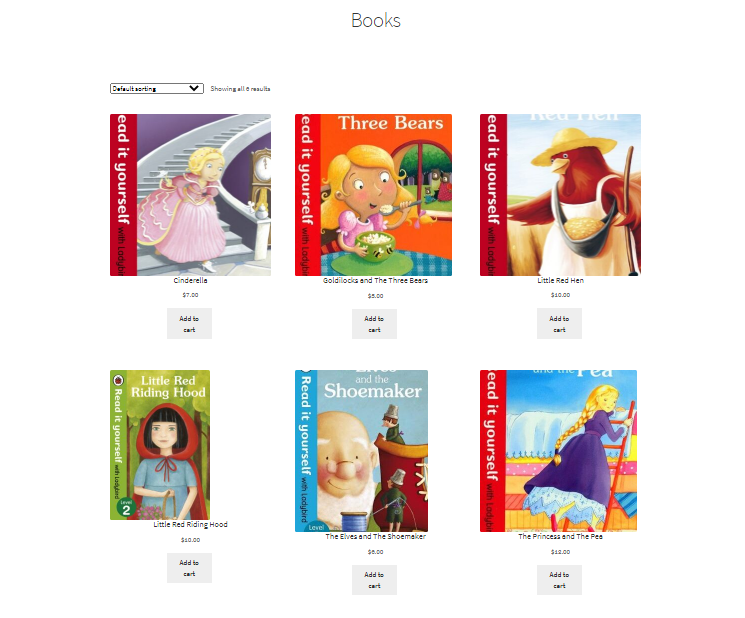
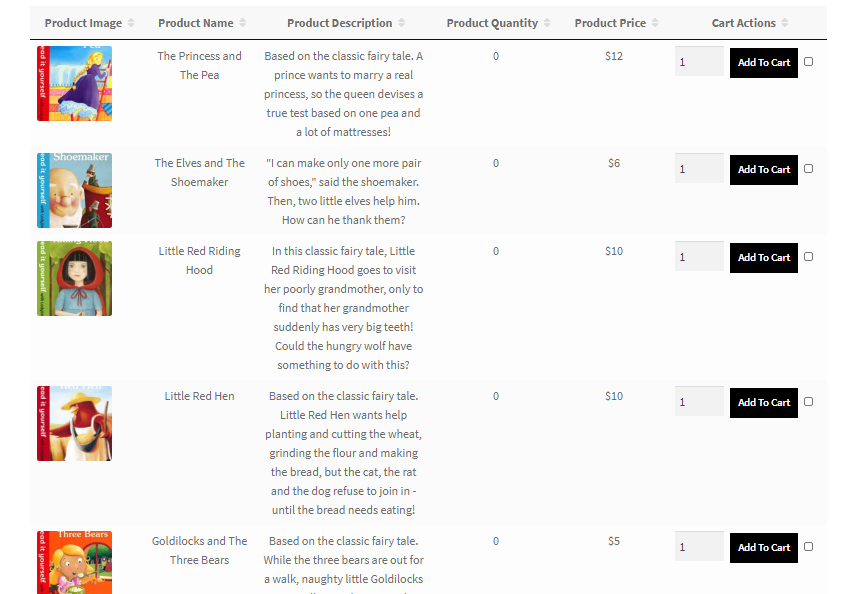
The table format gives the customer a better idea of what the books are about and he can easily buy the books using the Add to Cart button.
The same is true for shops selling audio tracks, DVDs, stationery, office supplies, grocery items, auto-parts, restaurants, and a lot more.
Another important use case of Product Tables is in B2B eCommerce. Most B2B buyers are repeat customers who know what they are looking for.
They often place bulk orders and need a quick way to buy multiple products without visiting individual product pages to add products to their cart. With Product Tables, you can streamline the buying journey for your B2B audience.
WooCommerce Product Table
Optimize buyer’s journey and boost conversions
How To Add a Product Table on Product Category Page
To replace the default grid layout with an intuitive product table, you need the WooCommerce Product Tables plugin by Codup.
After installing and activating the plugin, navigate to WooCommerce => Settings from the main WordPress admin panel.
Click on the Product Table tab.
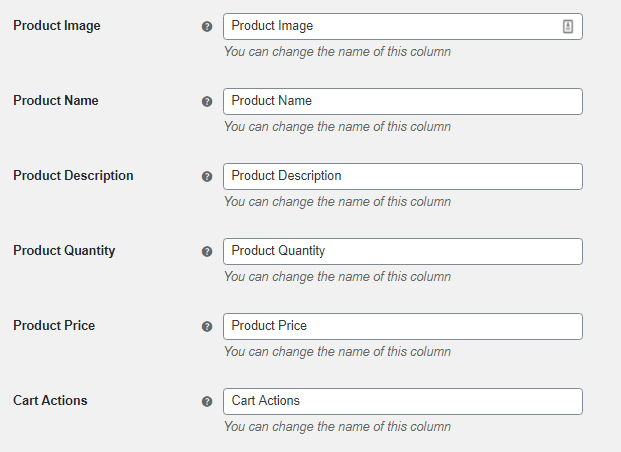
Here, you can customize the product table with different configurations and options.
- Choose what product data to display in your table: You can choose which columns your table will display by selecting product data from the dropdown list.

- Change the column labels: You can customize your product table to match your business tone and style by customizing the column labels.
- Specify the Image Size: You can specify the image size in pixels

- Enable Lightbox feature: The intuitive lightbox feature lets users see the image in expanded view without leaving the page.

- Specify description length: You can write the number of characters the product description will show in the table.

- Enable variable products: By enabling variable products, you can allow the customer to choose variations right from the table without the need to visit the product page.

- Choose Add to Cart button options: You have the option of adding the multiselect checkbox along with the Add to Cart button. This allows customers to select multiple products and add them all to the cart with a single click.

- Hide categories: If you want to hide any categories from the table, you can specify here.

- Enable product filters: Product filters will allow customers to easily browse through your collection and find what they need.

- Choose filter options: Products can be filtered by Category and Price.

- Enable search box: Search box will also optimize the customer experience by allowing them to find what they need.

- Product sorting: Choose how you want the products to be sorted in the table.

- Choose how many products to show on a single page: Specify how many products you want to show on a single page.

When you’re done with these settings, save the changes and copy the shortcode given above. You can embed the product table with the help of this shortcode.
![]()
To embed the shortcode on a page, go to Pages => Add New. Paste the shortcode in the editor, give your page a name and publish the page. Your Product Table is now live.
To make this page appear in your main navigation, Go to Appearance => Menus from the WordPress Admin Panel.
Add this page in your main menu and save it.
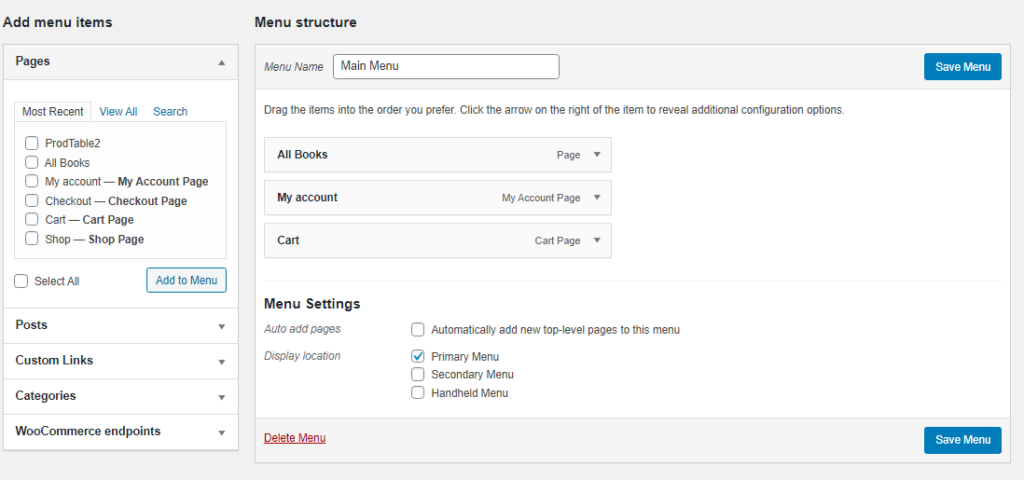
Here, we embedded the product table in a page named All Books and added All Books page to the main menu.
Now, the customer who lands on our store will click on All Books from the homepage and will land on our beautiful product table, which will make it easy for him to buy books.
Remember, the easier and quicker it is, the higher the conversion.
Get in touch with the experts at CODUP for premium WooCommerce development services.
Read Also:
- How to Build a Successful WooCommerce Sales Funnel
- How to build a WooCommerce B2B Wholesale Store
- 3 Steps To Design a Effective WooCommerce Bulk Order Form