How to Make a Divi Child Theme in Easy, Simple Steps

With its block-based editor on the backend and the intuitive visual editor on the frontend, Divi is one of the most popular themes available for WordPress.
With hundreds of off-the-shelf layout packs and ready-made templates available in the Divi marketplace, you can easily turn your ideas to life without any coding at all.
However, there are times when you need to add some custom styling and functionality to your Divi site, making it necessary for you to create a child theme to house all your customizations.
So, how to make a Divi child theme?
No matter what your technical abilities are, creating a Divi child theme is actually quite simple and easy.
But before we dive in, let’s take a look at why do you even need a child theme?
Why Do I Need a Child Theme?
Whenever you need to customize wordpress development service your theme code and add custom code to your site, it’s recommended to create a child theme to do those customizations in. Doing so protects your customizations from being overwritten when the parent theme gets an update in the future.
A child theme inherits all the functionalities and styling of the parent theme but can house custom functions, styles, and other files that could change the layout of your website without directly impacting the parent theme.
This means when the parent theme gets an update in the future, you aren’t afraid of updating the theme for fear of losing your customizations. You can easily update the parent theme and keep your customizations intact in the child theme.
That said, let’s see how we can create a Divi child theme without further ado.
Install the Divi WordPress Theme
To make a child theme work, you need to have both the parent theme and the child theme installed on your WordPress site.
Before you create a Divi child theme, you need to install the parent Divi theme on your WordPress site.
The child theme you create will include code that tells WordPress to fetch styling and all other important files from the parent Divi theme.
Just install the Divi theme on your WordPress site by uploading the Divi theme you have purchased by navigating to WordPress > Appearance > Themes > Add New.
How to Create a Divi Child Theme Manually
To create a child theme manually, you need a text editor like Notepad++, Atom, Brackets, etc.
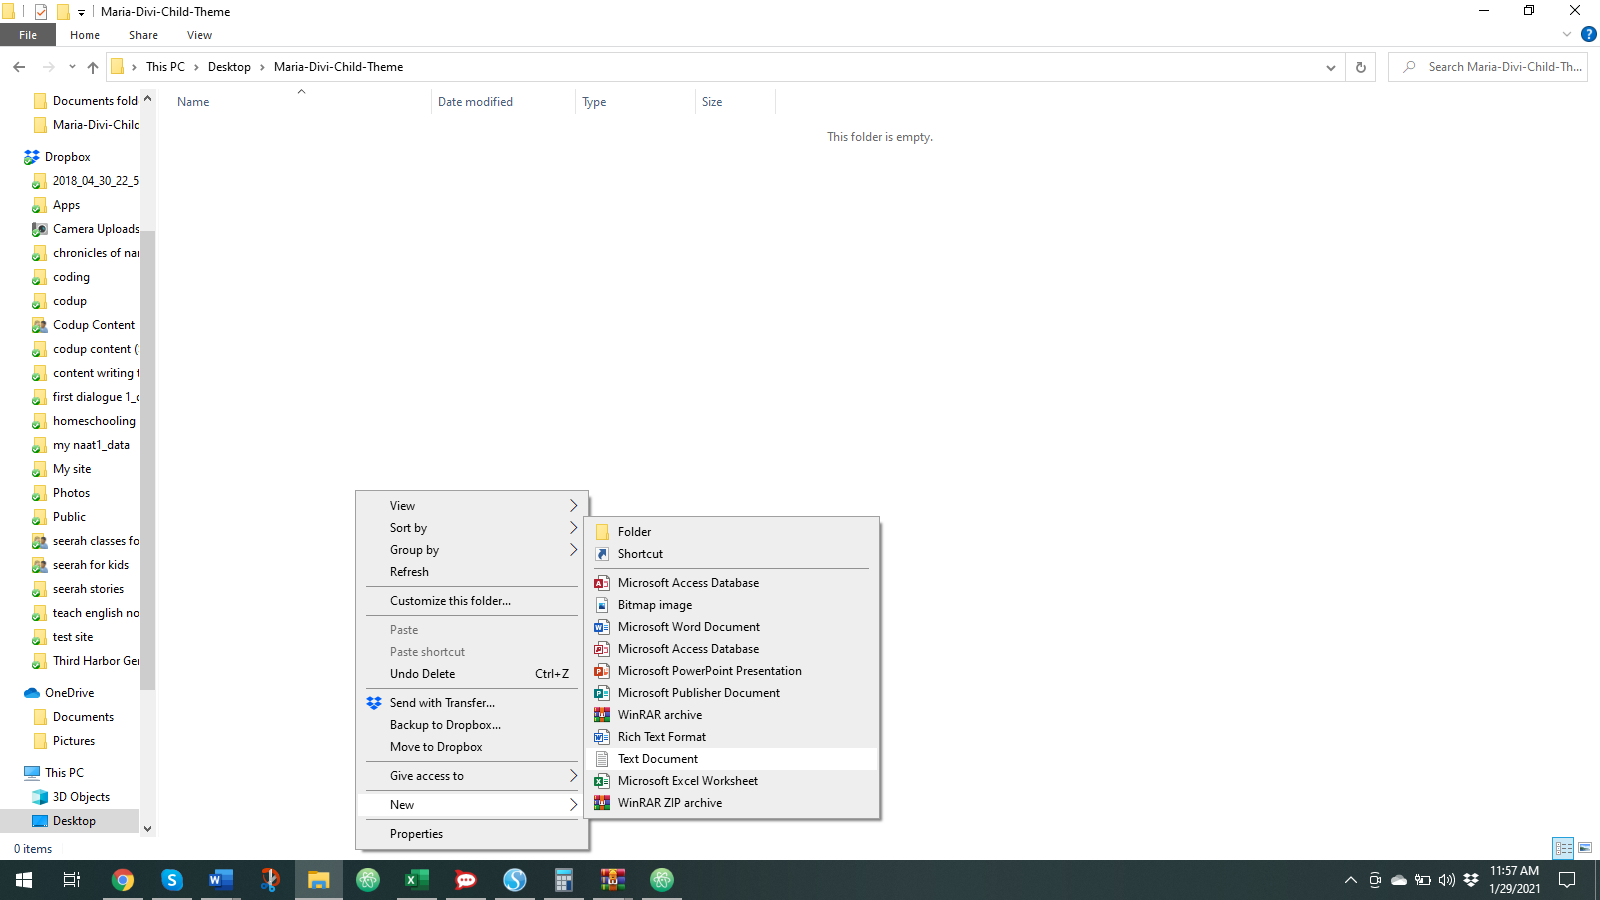
Step 1: Create a folder anywhere on your computer and give it a unique name.
Make sure the name is unique and doesn’t match any existing WordPress themes. If the name of your folder matches any existing theme, WordPress will try to update your child theme whenever that theme gets an update.
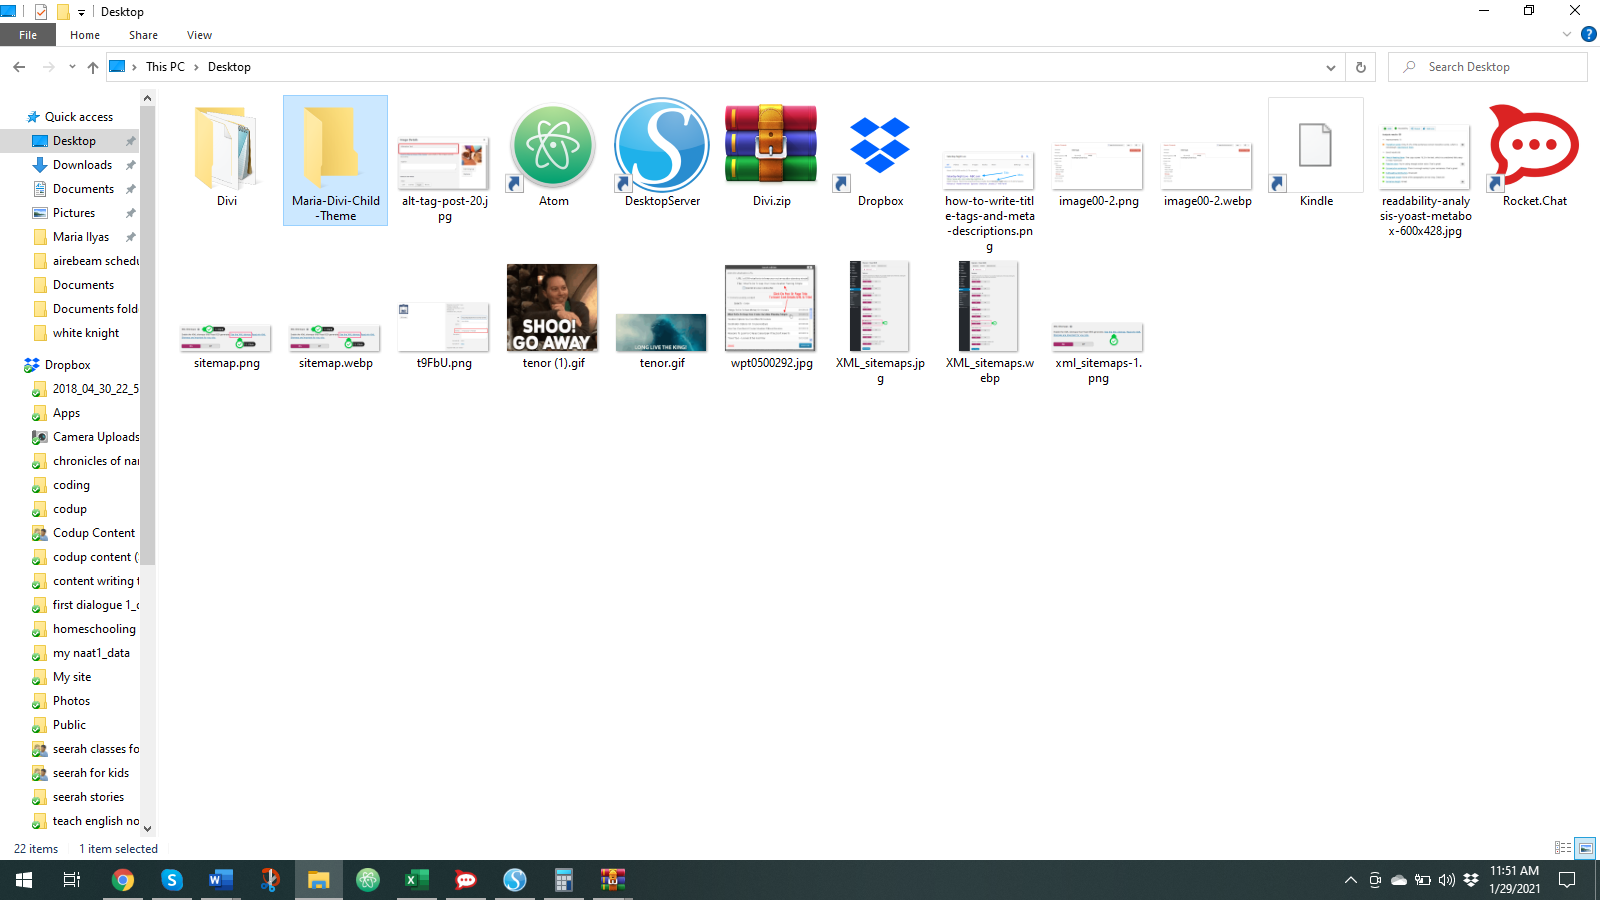
Step 2: Add a style.css file in your folder
Right-click anywhere in the folder you’ve created.

Hover on New and choose Text Document.
Rename the file to “style.css”.

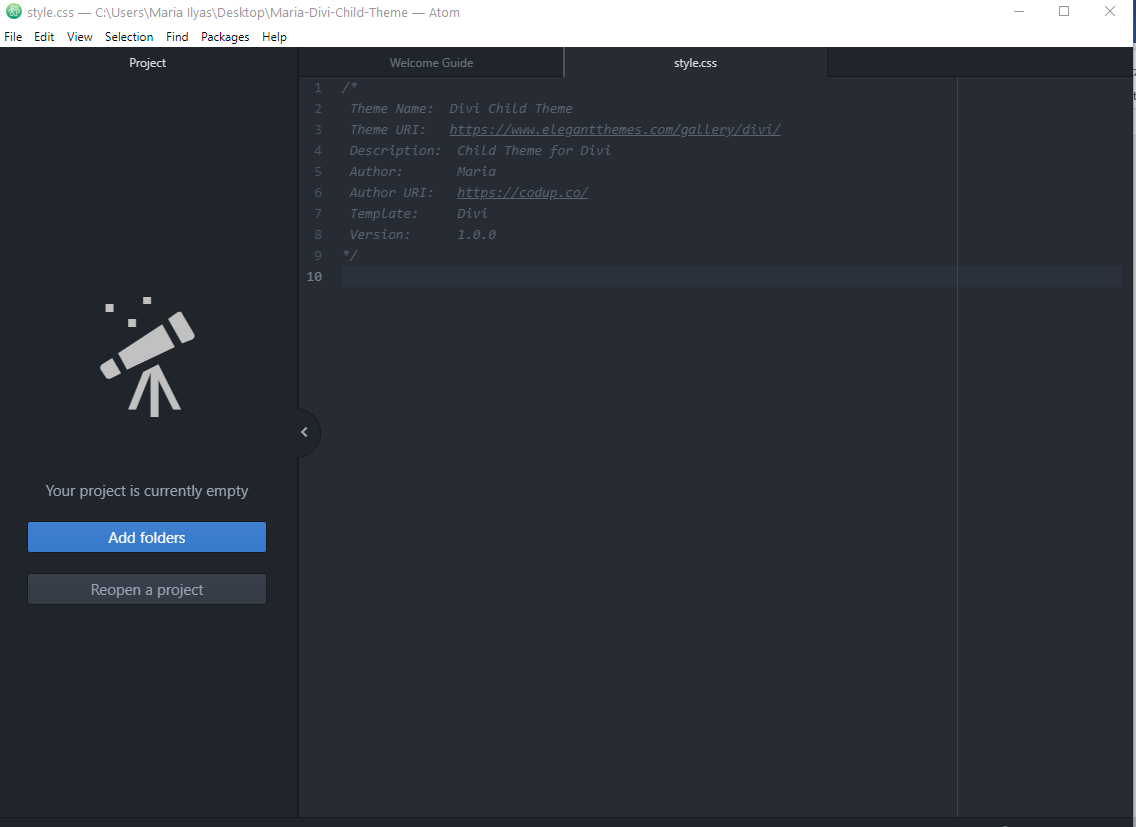
Next, open the style.css file with your text editor and paste the following code in it:
/*
Theme Name: Divi Child Theme
Theme URI: https://www.elegantthemes.com/gallery/divi/
Description: Child Theme for Divi
Author: Maria
Author URI: https://codup.co/
Template: Divi
Version: 1.0.0
*/
All the above fields are editable and customizable except the field “Template”. The Template field tells that it is a child theme for Divi.
You can add any custom CSS under this code.
Step 3: Add a functions.php file in the theme folder
Next, right-click anywhere in the folder and create a new text document and rename it to functions.php

Open the file with your text editor and paste the following code in it.
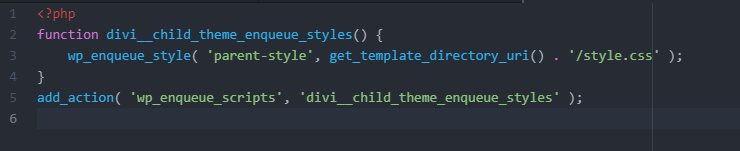
<?php
function divi__child_theme_enqueue_styles() {
wp_enqueue_style( ‘parent-style’, get_template_directory_uri() . ‘/style.css’ );
}
add_action( ‘wp_enqueue_scripts’, ‘divi__child_theme_enqueue_styles’ );
You can add any custom functions and code below the last line.
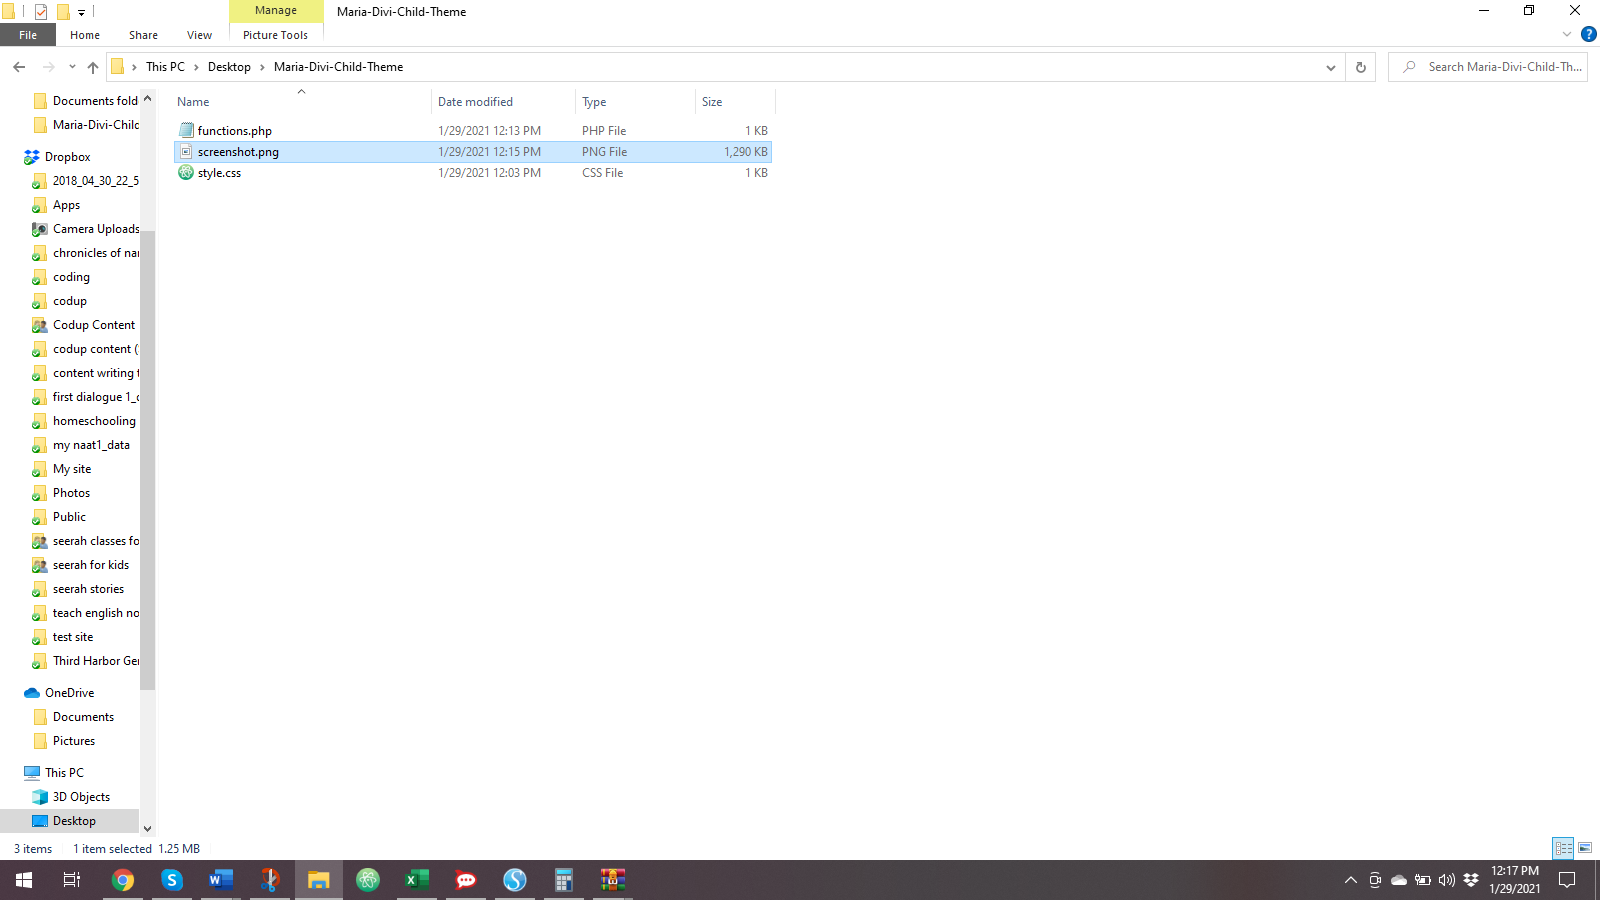
Step 4: Create a screenshot
Next, right-click in your folder and choose Bitmap image. Rename the file to “screenshot.png”. Open the file with paint and create any image that you want.
This screenshot will display in your theme’s menu. Not including a screenshot image here will leave that space empty on the Theme’s Screen.
You can also add an ‘includes’ folder here for other files like JavaScript. But for now, we’re just doing the bare-bones way of creating a child theme.
Step 5: Compress the folder and upload
Your child theme is now ready for upload.
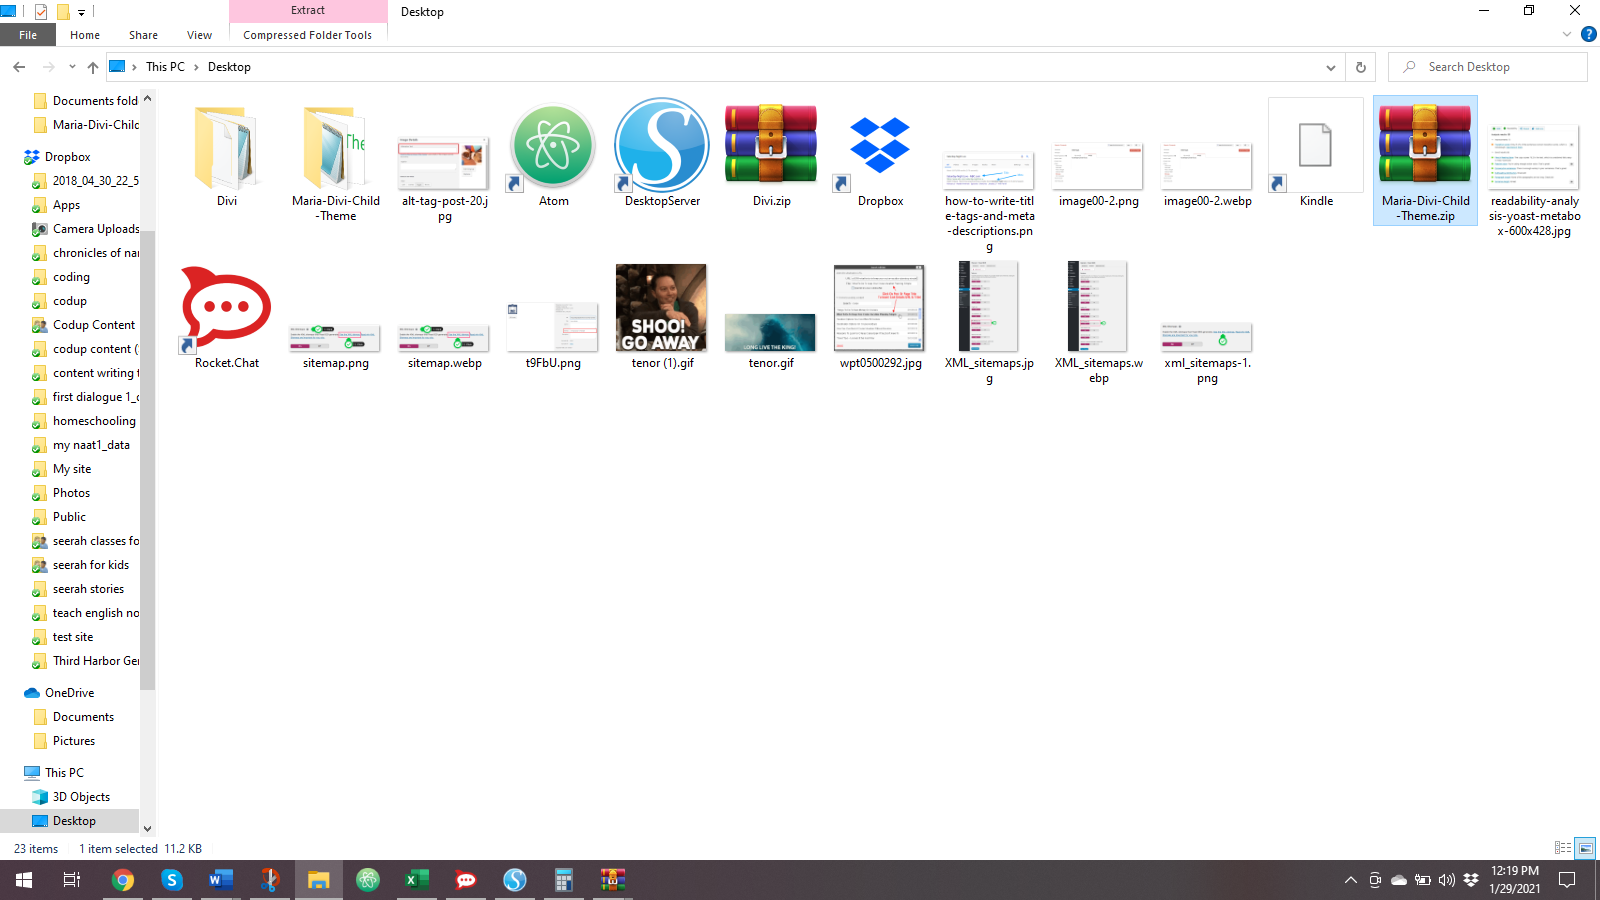
Simply compress your folder by right-clicking and choosing Send-to > Compressed folder.
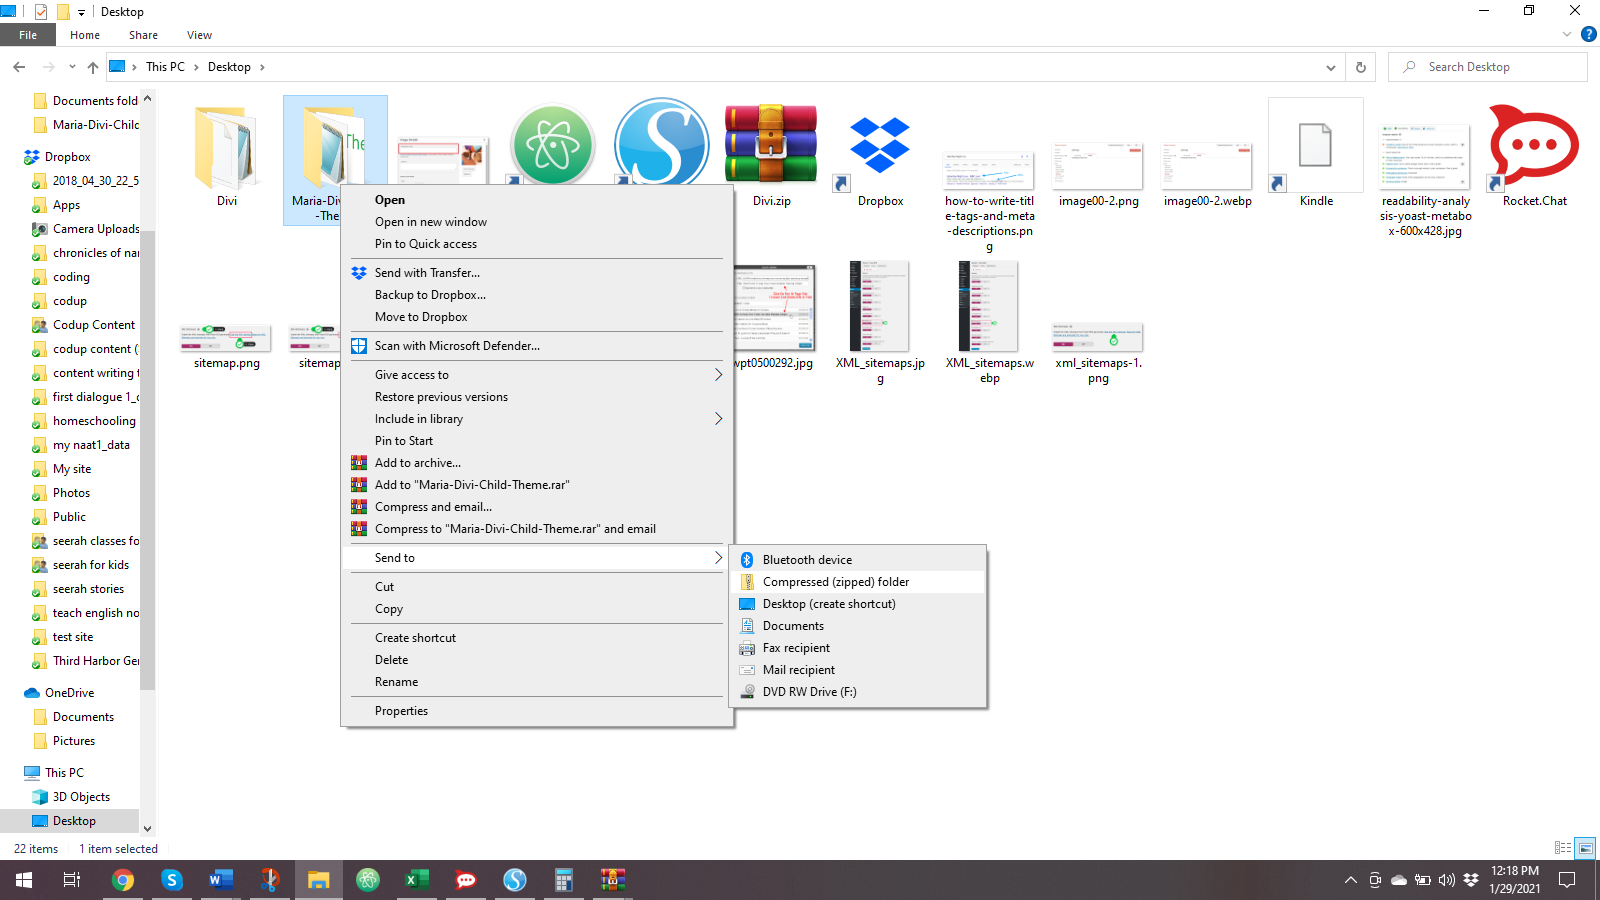
The zipped folder of your child theme will appear in the same directory.
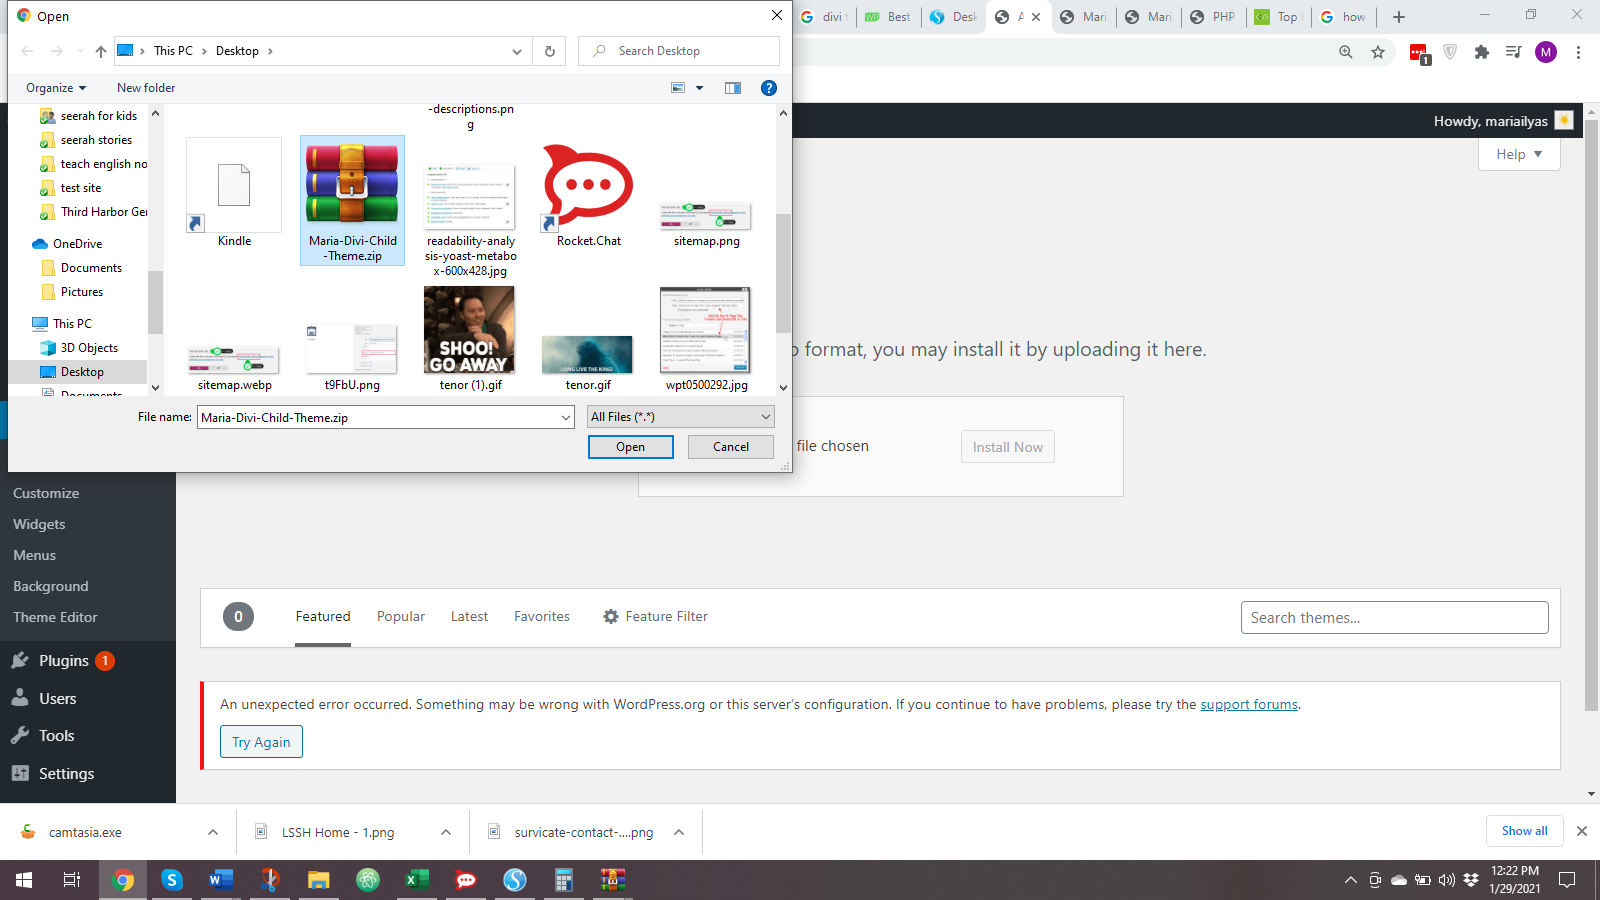
Upload the theme folder on WordPress by navigating to Appearance > Themes > Add New > Upload Theme
When you install the theme, it will appear on the Theme’s page and the screenshot you made will appear in the image box, like so:
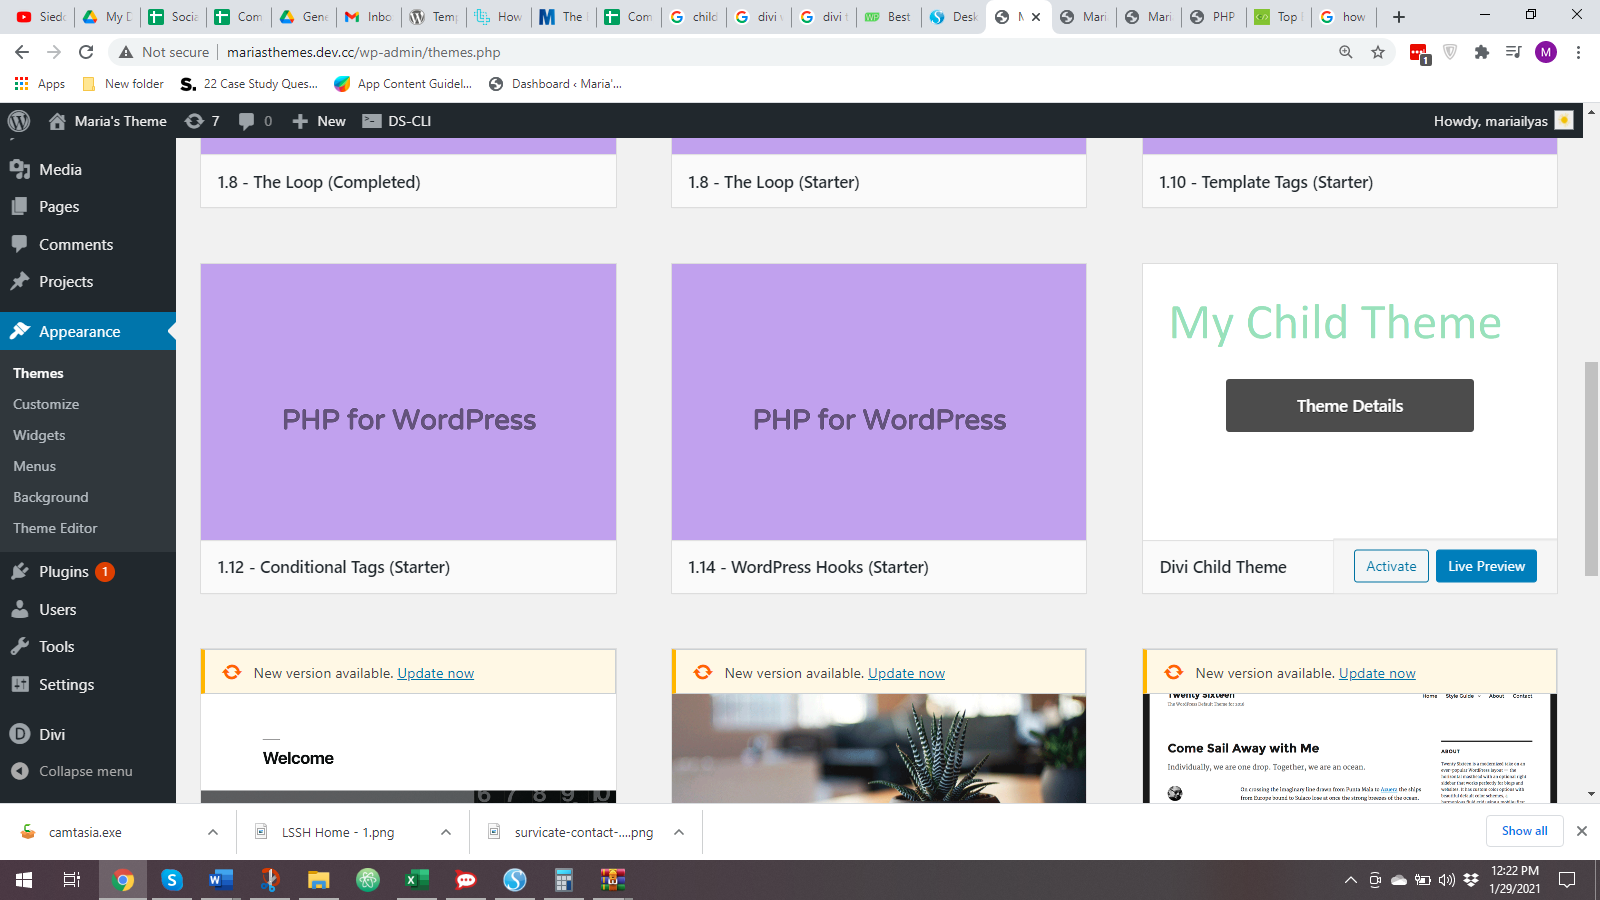
Click Activate to activate the child theme.
Now, you’re all set to customize your theme to your heart’s content without messing up the parent theme and without any fear of losing your customizations in the future.
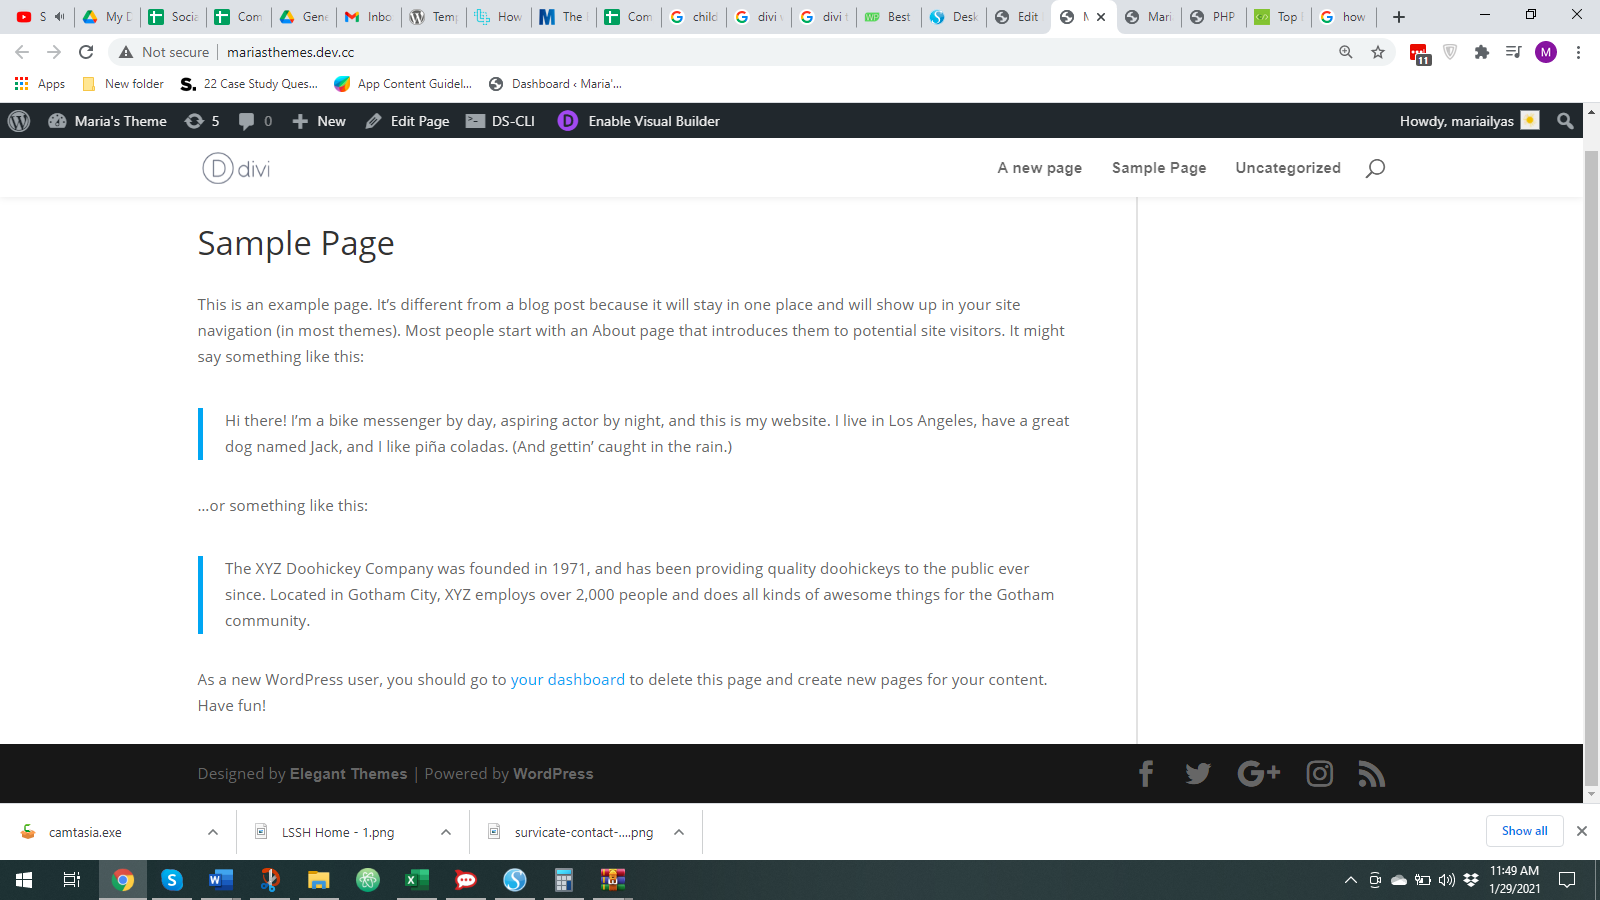
If you visit your website now, it will look exactly the same as before when you had the Divi theme activated – unless you added some custom code in the child theme files before uploading it.
Simple, wasn’t it?
Read Also
- 6 Practical Tips to Cut Costs for Your Ecommerce Store
- How to Talk to Developers: A Project Manager’s Manual
- 6 Tactics To Improve Your eCommerce Conversions Through Referral Marketing
- How to Improve Customer Experience For Insanely Loyal Customers
- A Guide to Voice Commerce In 2021
- B2B Lead Generation – Strategies And Tips For 2021
- Optimizing Conversion Rate On Your eCommerce Store
- Beginner’s Guide For WordPress Theme Development
- How to Change a WordPress Theme