How to Start an Online Store For Your B2C Business
Looking to build an online store but don’t know where to begin? This guide will help you gain the necessary knowledge needed to start up an online B2C Business.
Yes, we know that it’s a terrifying thought. Ecommerce is a highly competitive industry where, if you’re not well-prepared or informed, things can get confusing very easily and quickly. Worse off, your business venture faces the risk of failure.
Time and time again, we’ve seen businesses fail because business owners either didn’t have the essential background or the basic technical knowledge to start up their eCommerce ventures.
To help you avoid all this, we’ve created this detailed guide on building an eCommerce Store. With this article, we feel that business owners will succeed in creating an eCommerce store without facing any problems.
The platform that we’ll be using for this article will be WordPress, and in extension, it’s a powerful WooCommerce Plugin.
So, without taking too much of your time, let’s begin.
Selecting an eCommerce Platform
An eCommerce store built with the wrong platform is the biggest mistake business owners make when going online.
But seeing as how you’re here, you won’t be making such a blunder.
Though we did say we’ll be using WooCommerce for this article, it’s by no means the only eCommerce platform out there in the market.
Besides WooCommerce, you also have Shopify. This prompts the question; which one should you pick? Shopify or WooCommerce?
Shopify vs WooCommerce: A Quick Comparison
A fully hosted solution starting at $29/month, Shopify is a closed-source platform that essentially just lets you “subscribe and sell.” This means that once you purchase a Shopify plan, all you have to do is set the site up and start selling.
Also, you don’t have to worry about technical issues such as security, downtimes, and performance since the company will take care of it for you.
The downside to using this platform always comes down to the budget. Shopify is not cheap, and with each plan, you get a few advanced features. If you decide to stay on the basic plan or don’t have the financial resources to pay the fees of additional features such as payment options, your operations will always be limited.
Because of the problems associated with Shopify, and other closed source platforms, many prefer to use WooCommerce for their operations. A powerful and open-source platform, WooCommerce (utilizing WordPress, of course) gives you serious control over the entirety of your site operations.
However, this freedom comes with its own set of responsibilities, such as managing your site’s performance and ensuring WordPress security.
Read Also: WordPress Security Guide – 19 Strategies to Bullet-Proof Your Site
Fortunately, with the wide array of plugins available, these tasks can be managed with relative ease.
Now, with the platform selected, it’s time to move on to the major part of our discussion.
Domain Names, Web Hosting, and SSL Certificates
Before starting up a store, the first thing you have to do is purchase the following:
- Domain Name: A domain name is the address of your website that users type in their browsers.
- Web Hosting: Essentially, a computer server where your website lives.
- Secure Sockets Layer (SSL): Allows you to introduce an additional level of security to your site. It is also a major ranking factor in Google SERPs.
The costs of all these depend on you entirely.
You can choose between a shared or managed hosting option.
If your business name is unique, you can get a significantly cheaper domain name.
The costs of an SSL can also range from anything between $4 to $102 dollars per year. Depending on your convenience, you can choose a plan which suits you best.
As an example, we are using Bluehost, a WordPress certified hosting service. It comes under the category of cheap shared hosting services since the basic plan starts at $2.95 per month.
Once you subscribe to Bluehost and fill out all the credentials, you’ll be given login credentials which you can use to access the cPanel of your website. The cPanel, in turn, would look something like this:
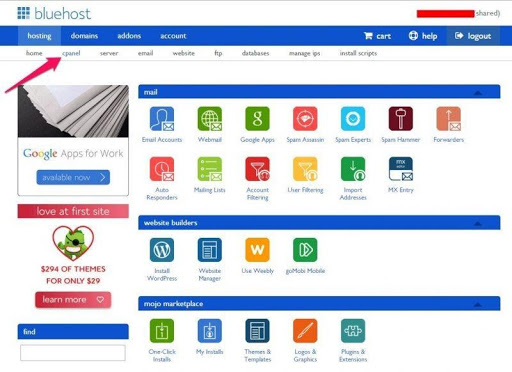
Now that you’re done with this step, it’s time you move on to the next step: installing WordPress. Bluehost takes care of the major steps requiring a WordPress installation, so all you have to do now is set it up.
Setting Up Your WordPress site
When you first login to your WordPress account, this is what you will see; a welcome message asking you about the type of site you want to set up.
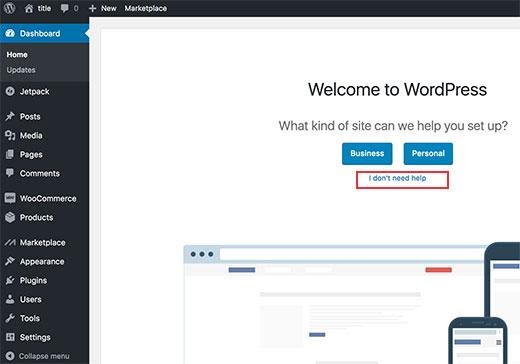
Click on “I don’t need help” to continue. Don’t worry; we will walk you through the essential steps later on.
Once you close the help wizard, your WordPress will look something like this:
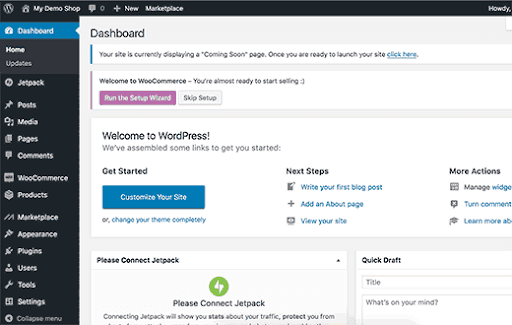
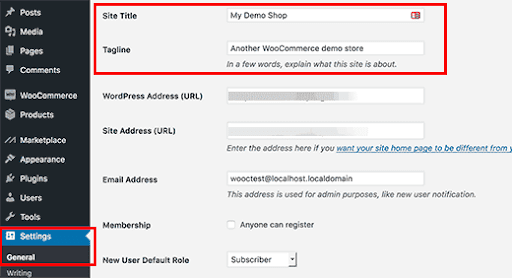
Navigate to Settings > General to setup the title and description of your website. Ideally, you should write about what’s the purpose of your website.
HTTPS and SSL Setup
Usually, you will get an SSL alongside your hosting account. The certificate will come pre-installed for your domain. Even if you’ve purchased it externally, then you would have to configure it with WordPress either way.
To configure SSL for WordPress, click on Settings > General and under WordPress address and change the http extension to https.
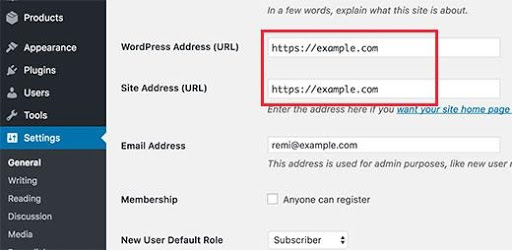
Now, scroll down below and click on Save Changes to continue.
With the essentials out of the way, it’s time we set up WooCommerce on your WordPress website.
Step 3. Setting Up Your WooCommerce Store
You can install WooCommerce by going to the Plugins section on your WordPress dashboard. Once there, search for WooCommerce and install the one with the highest number of downloads. Once installed, activate the plugin to start your eCommerce journey.
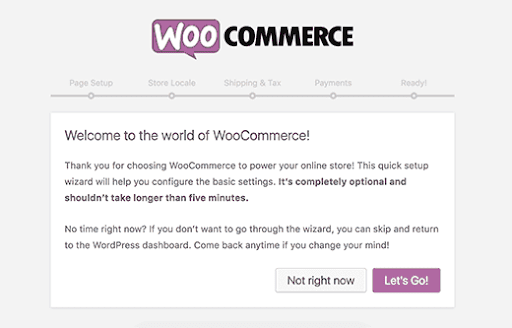
Once you’ve done the things mentioned above, you will see a WooCommerce notification on your WordPress dashboard asking you to run the WooCommerce setup wizard. Click on the “Run the Setup Wizard” button and follow along each step.
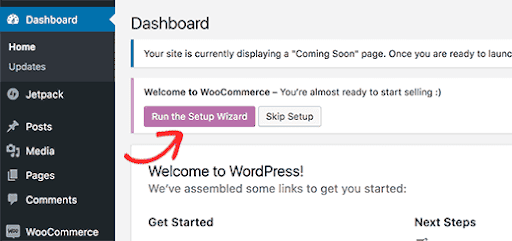
Click on Let’s Go to start the wizard.
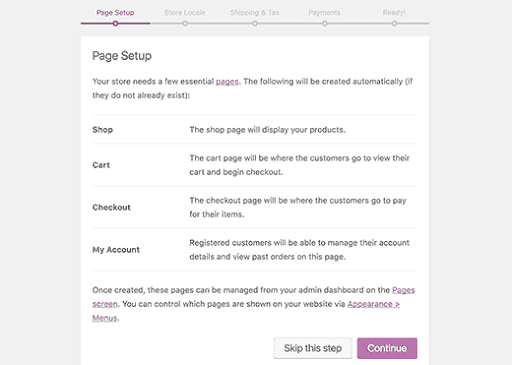
The setup now asks you to create separate pages for a cart, account, shop, and checkout. Clicking on Continue will create those pages.
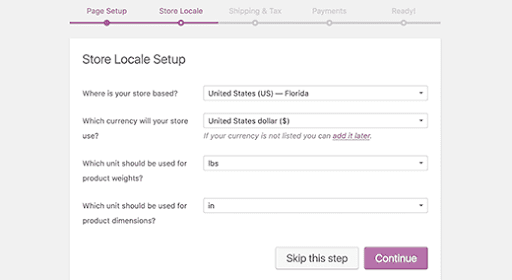
In the next step, you will set up the location of your store and your country of operations. Click on Continue to proceed further.
In the next step, you will enter your tax and shipping information.
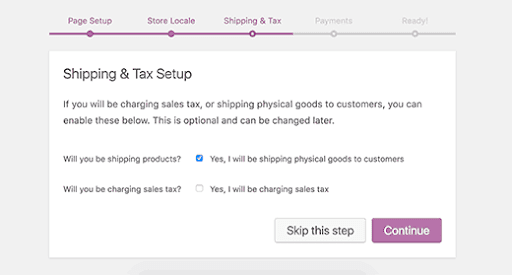
WooCommerce allows you to sell both digital as well as physical products. Depending on what you wish to sell, you can opt-out of setting up shipping options. If you’re selling digital products like an eBook or a software product, then you only have to configure your taxes.
Next, your need to change your tax settings by answering the tax-related question. The benefit of using WooCommerce is that it can allow you to calculate taxes automatically.
Once you’ve done both, click on Continue to move on.
In the next critical step, you will be asked to set up payment methods for your store.
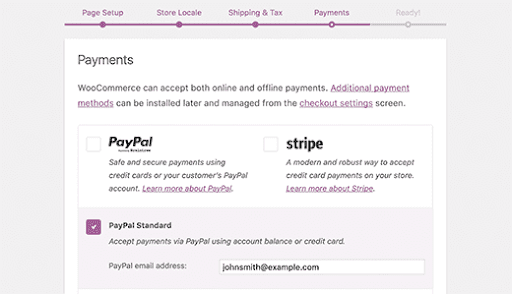
WooCommerce comes with PayPal and Stripe by default. There are several others available which you can install later on.
Depending on what your preferred mode of payment is, you can set up the account by simply entering your email address.
Simply enter your PayPal email address and click on the continue button to finish the wizard. Congratulations, your eCommerce store is all set up.
If you’re looking for professional assistance to ensure your WooCommerce store is set up with expert care, get in touch with the experts at CODUP for premium WooCommerce development services.
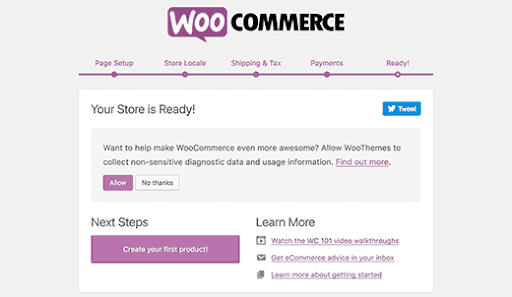
To exit the wizard, simply click on the “Return to WordPress dashboard” button.
With the setup complete, it’s time to move on to the next phase of the tutorial.
Adding Products in WooCommerce
Now, let’s begin adding products to your eCommerce store. To do that, navigate to Products > Add Products.
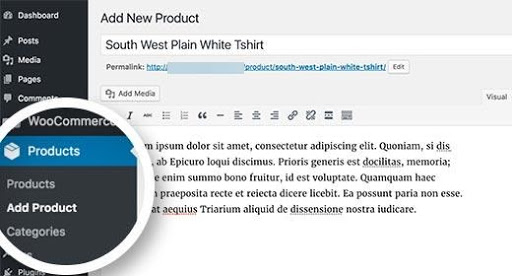
In the title field, name your product, and then add a detailed description related to the product. Even though it is off-topic, it’s best practice to add related keywords one or two times within the description field.
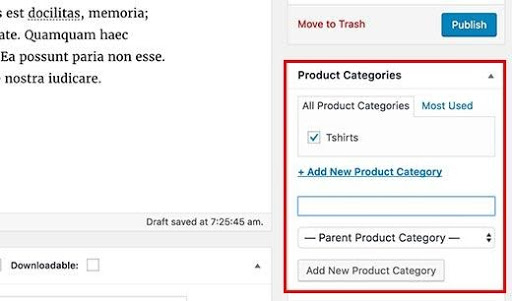
On the right of the page, you will see a “Product Categories” field. To organize your products effectively, just click on “Add New Category.” By adding a category, every time you add a similar product, you can organize them for yourself and your users.
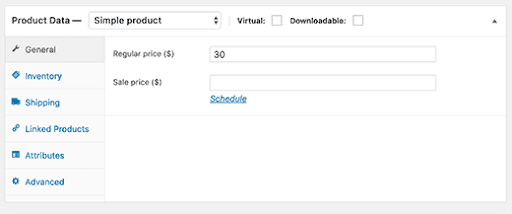
Scroll down a bit, and you will see a Product Data box where you can provide additional product information like pricing, dimensions, shipping, and inventory.
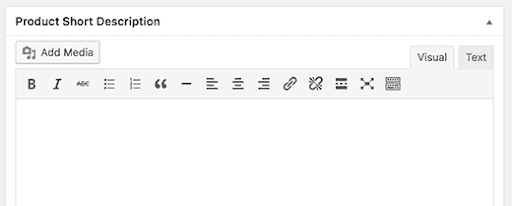
Below the product data box, you will also see options for adding short descriptions for your products. These come in very useful for when users will be viewing multiple product categories.
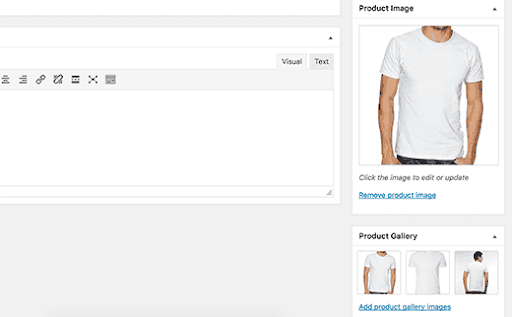
Lastly, you can also add the main product image or create a whole gallery of products.
Once you feel that the product is specified according to your preferences, you can click on Publish to take the product live.
Keep on adding products using the same process as needed.
Selecting and Customizing a WordPress Theme
Themes give you the site an aesthetic look and feel. With WordPress, you can find tons of free and paid themes that you can use to give your site an individualistic look.
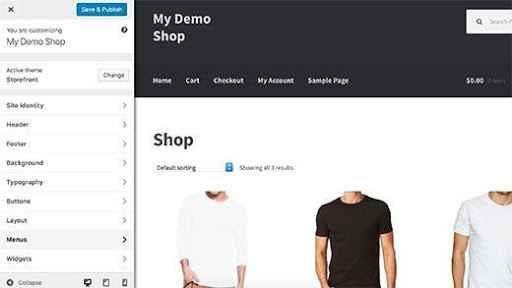
To customize the existing WooCommerce theme, go to Appearance > Customize. This will open up the theme editor, where you can apply different changes to your theme.
If you don’t like the existing theme, you can always switch by going to Appearance > Themes.

There are plenty of ways you can go about selecting a WordPress theme. Once you’ve decided on a theme, we will reach the final stage of this tutorial.
Extending Your Online Store with WordPress Plugins
The true beauty of WooCommerce lies in its plugins. There are tons of plugins and extensions like wp product feed manager available for the WooCommerce platform that help you beef up your store operations even further.
You can add contact forms, sliders, galleries, and payment methods, among other valuable WordPress plugins to your store.
Conclusion
WordPress and WooCommerce are powerful tools to have when building a website. In this article, we’ve given you a primer on how you can set up a WooCommerce store. But your journey doesn’t end there.
There are plenty of other important considerations that you need to take into account. Everything from security and SEO, to analytics and A/B testing, are equally important in your store operations.
Lastly, we would suggest you keep learning in order to fare even better in the digital world.
Connect with experts at CODUP for top-notch eCommerce website development services.
Read Also
- How to Build a WooCommerce B2B Wholesale Store – A Complete Guide
- How to Build a Successful WooCommerce Sales Funnel
- Top 10 Features Checklist for Your eCommerce Site
- 6 Best WordPress Hosting Services To Get You Up and Running Fast