How to Add PayPal Donate Button to WordPress
There are plenty of situations where you might want donations. You could be running an NGO, a political campaign, or are just a blogger looking for support from readers. This is a step-by-step tutorial on how to add PayPal donate button to WordPress so you can start receiving donations.
Whatever situation you might be in, WordPress provides you with plenty of buttons that you can use to create a donation button. But that’s too much work! A more straightforward method you can use is a PayPal donation button on WordPress.
In this article, we’ll be showing how you can add a PayPal donation button. Keep following the article step by step, and hopefully, in the end, you will have created a highly customized donation button on WordPress.
So, let’s begin.

How to Add Paypal Donate Button to WordPress: Step One
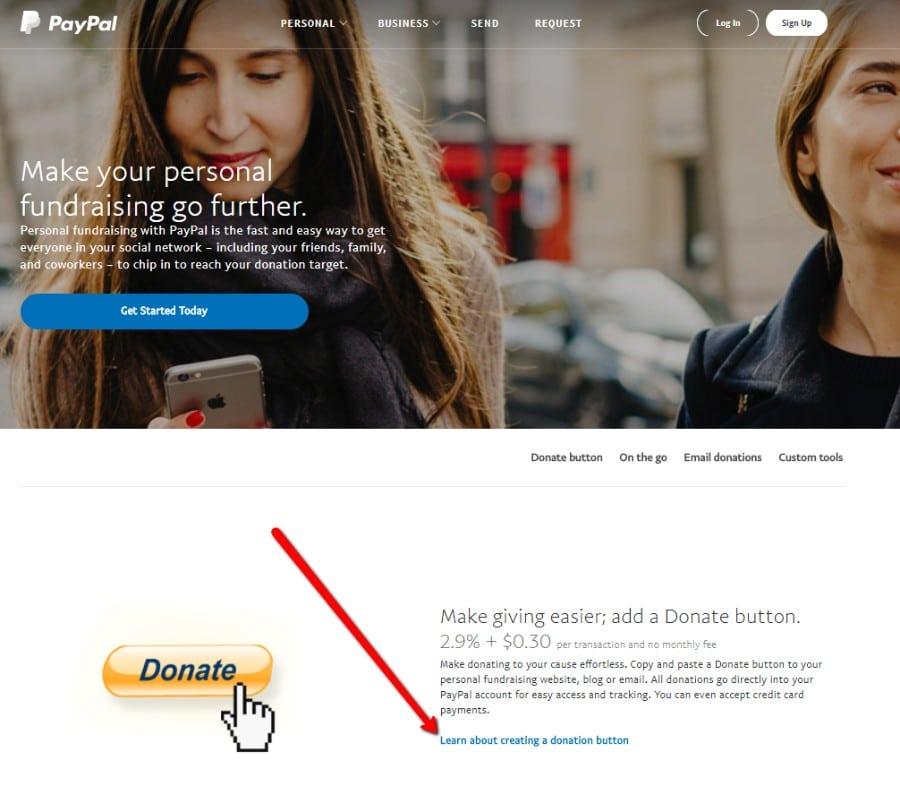
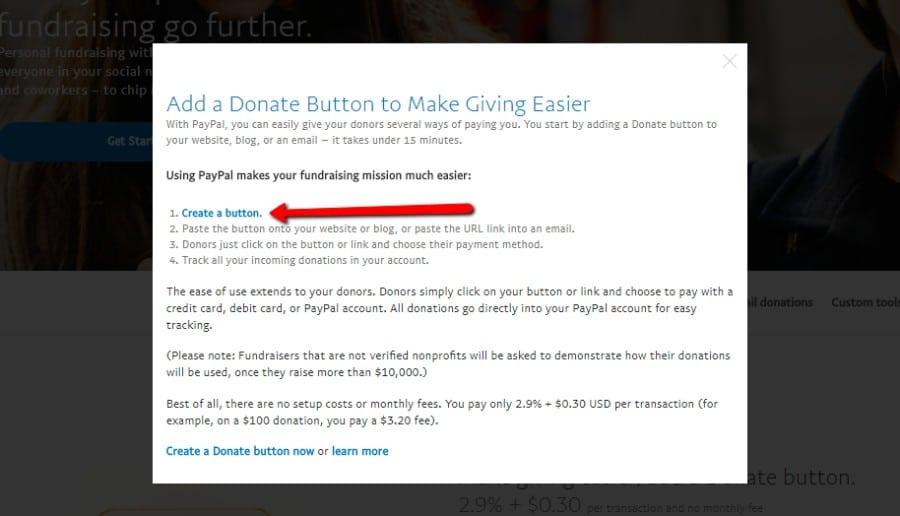
The first thing you would want to do is visit PayPal’s Fundraising Page. There you will see a list of all the features and costs you will incur when adding the PayPal button to your website.
If you don’t have a PayPal account, you need to set it up beforehand.
PayPal Account Setup
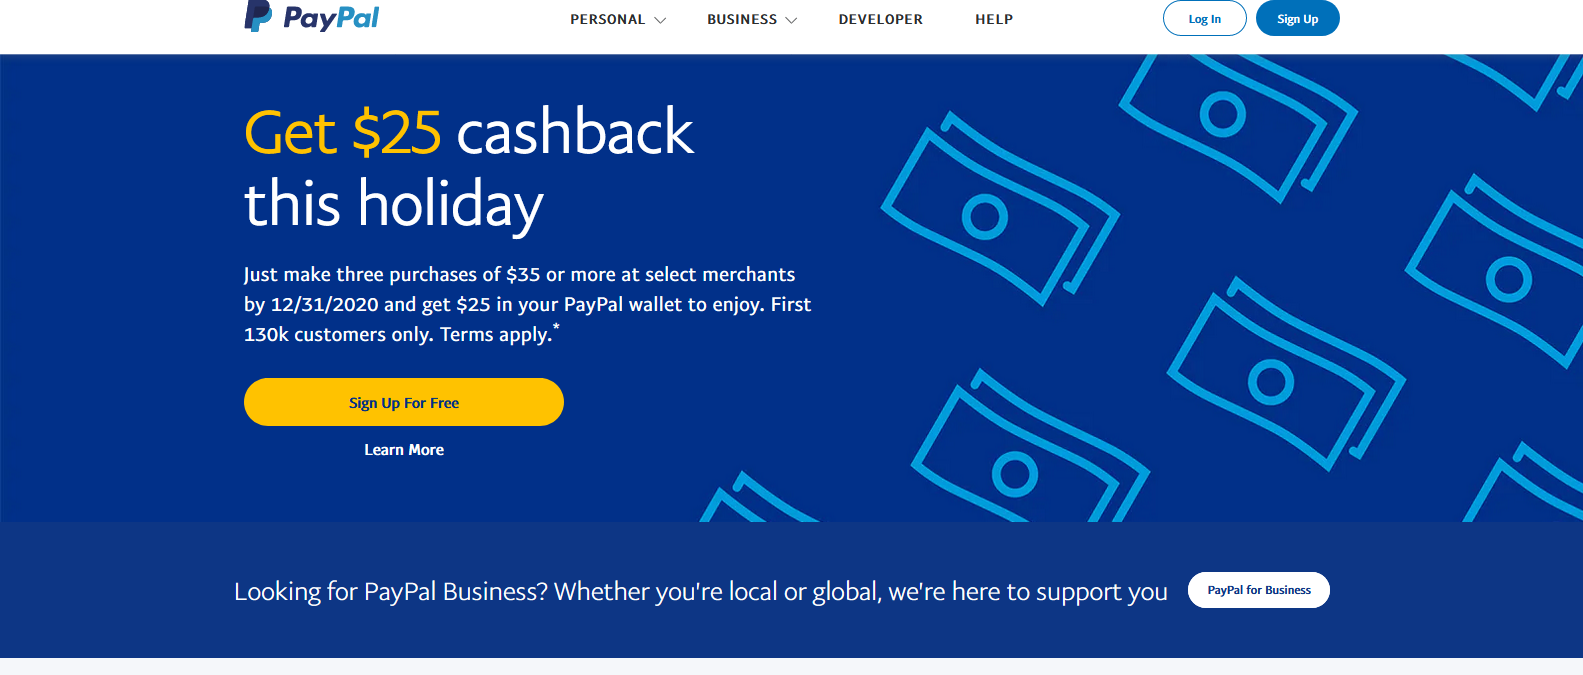
Visit the PayPal website and click on the “Sign Up” button to start the setup process.
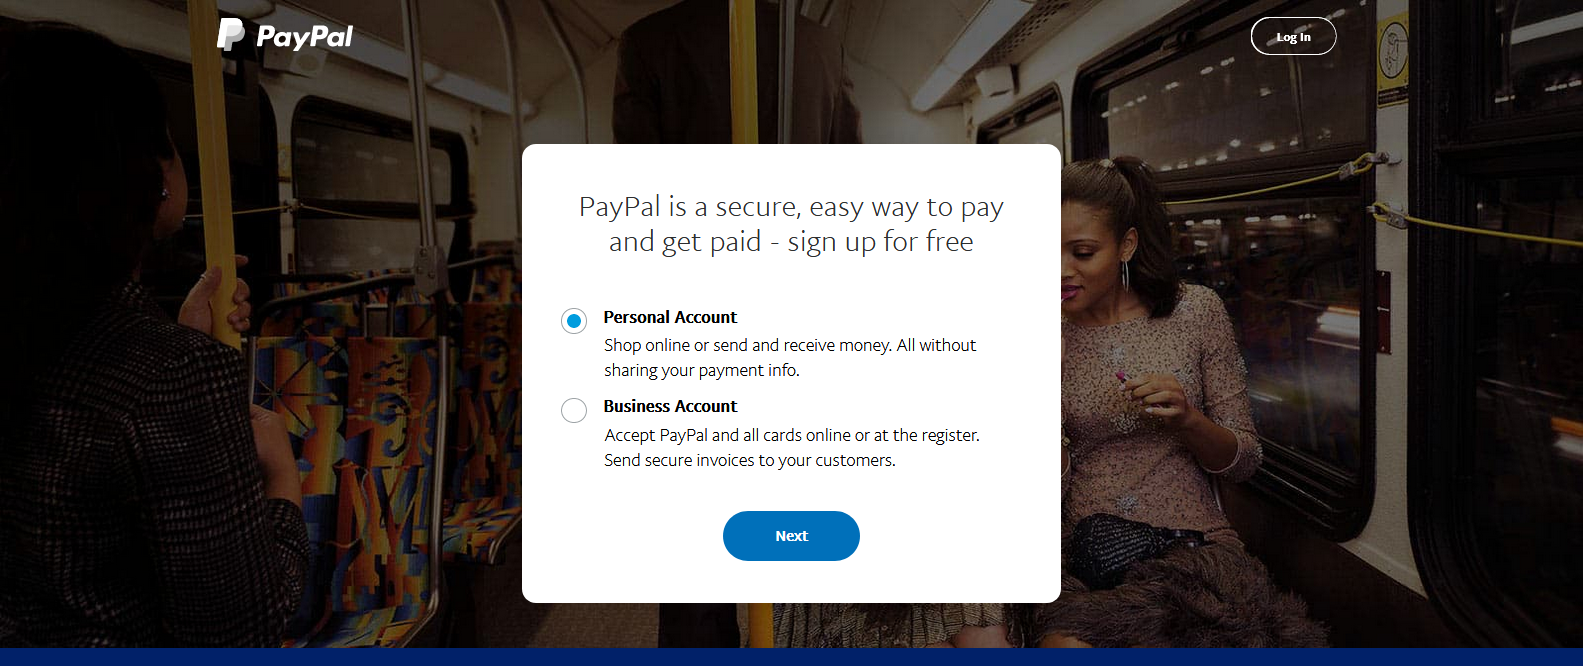
Depending on your requirements, you can choose between a Personal or a Business account.
Fill in your necessary information like First Name, Last Name, and email address and then select a password for your business and then click on Next to go on to the next step.
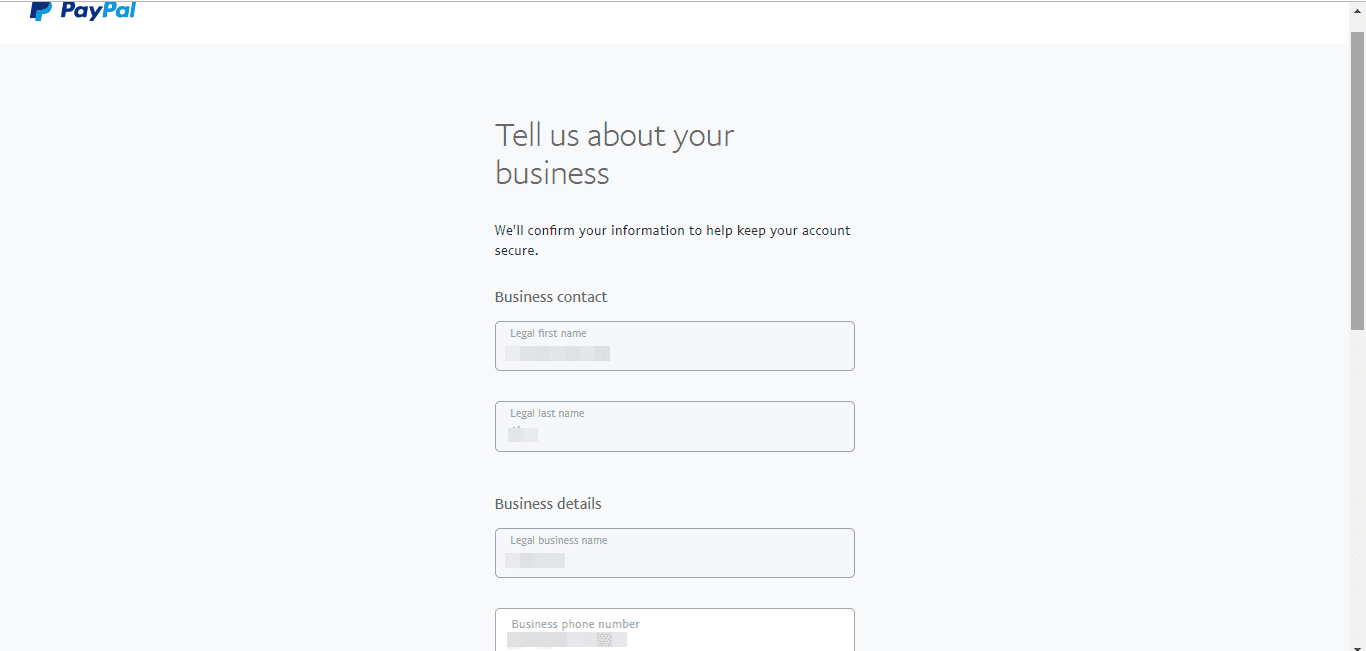
Next up, fill in your business address, accept your terms and conditions. Select on Agree and Create Account button.
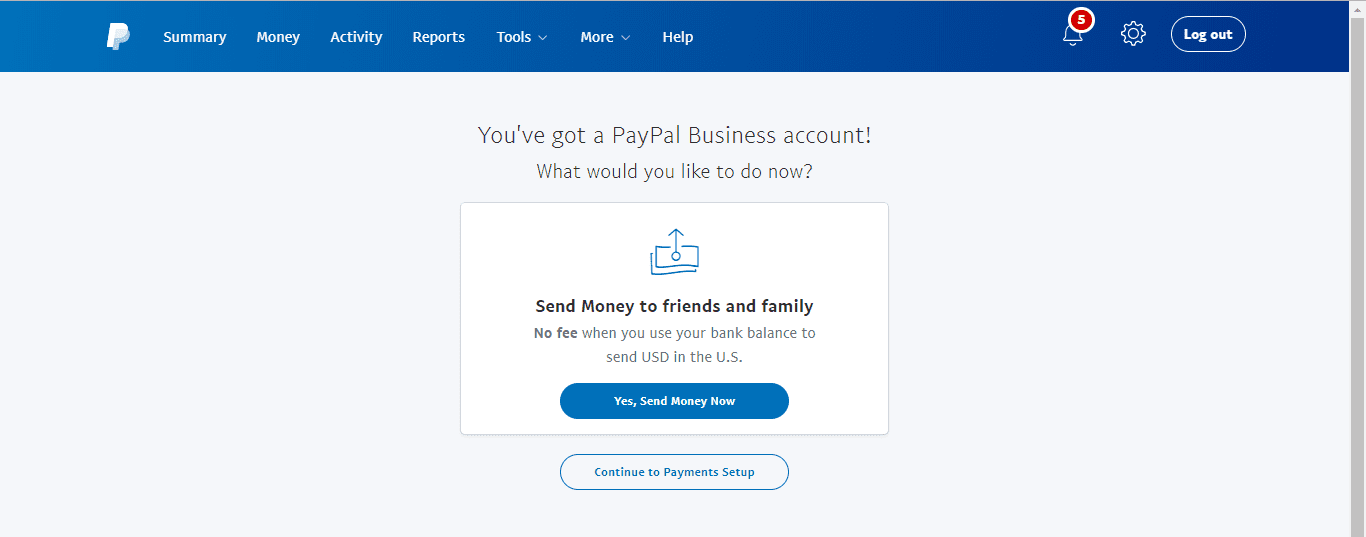
There you have it. Your PayPal account is now created.
Already Have a PayPal Account?
If your account is already created, all you need to worry about is making a donation button.
How to Add a PayPal Donate Button To WordPress: Step Two
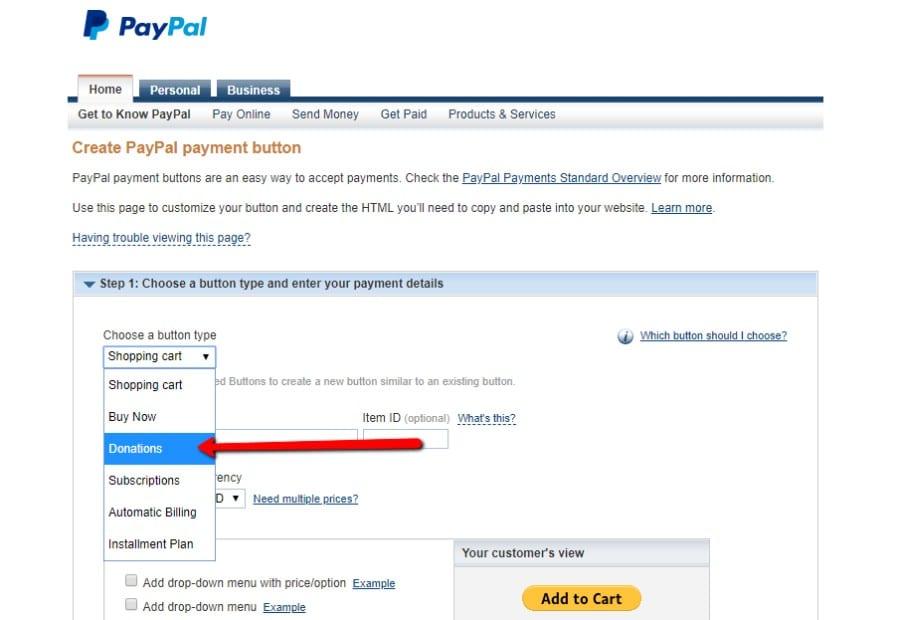
When you enter into the PayPal Payment Button Creation page, click on “Donations” to create a Donation button.
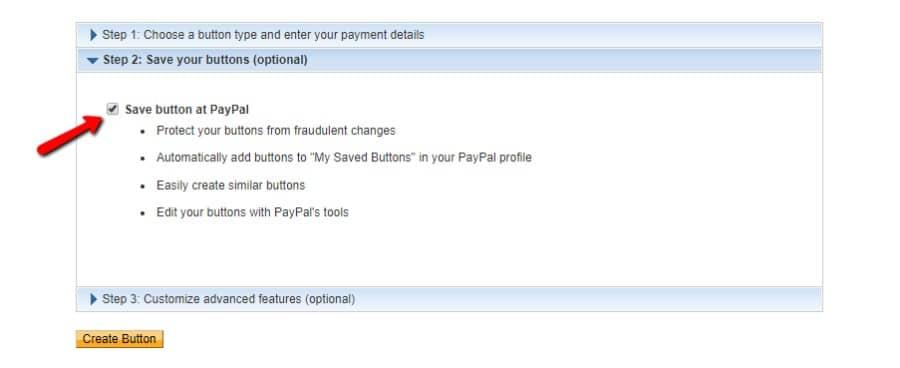
When you’re finished with this, you need to visit the Step 2 module and from there, check the “Save Button at PayPal” box. This makes your donation button more secure and saves it on PayPal.
How to Add PayPal Donate Button to WordPress: Step Three
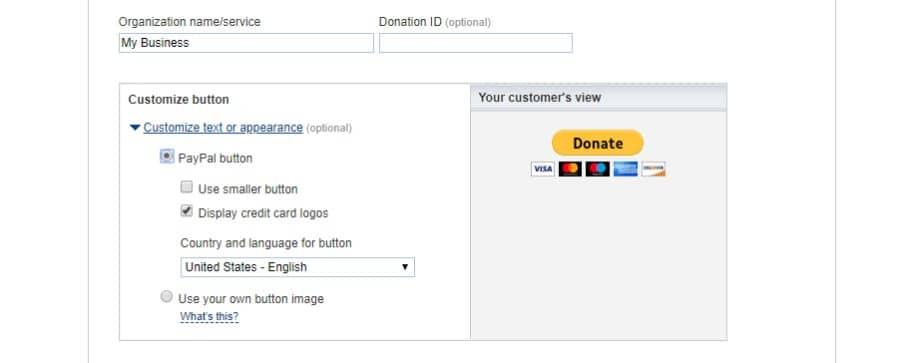
Fill in your organization name, and afterwards, you can customize the display of your donation button.
You can create your own image for the donation button, use small or large buttons, and add the Credit Card logos as well. To a certain degree, you can customize your donation button to match your branding.
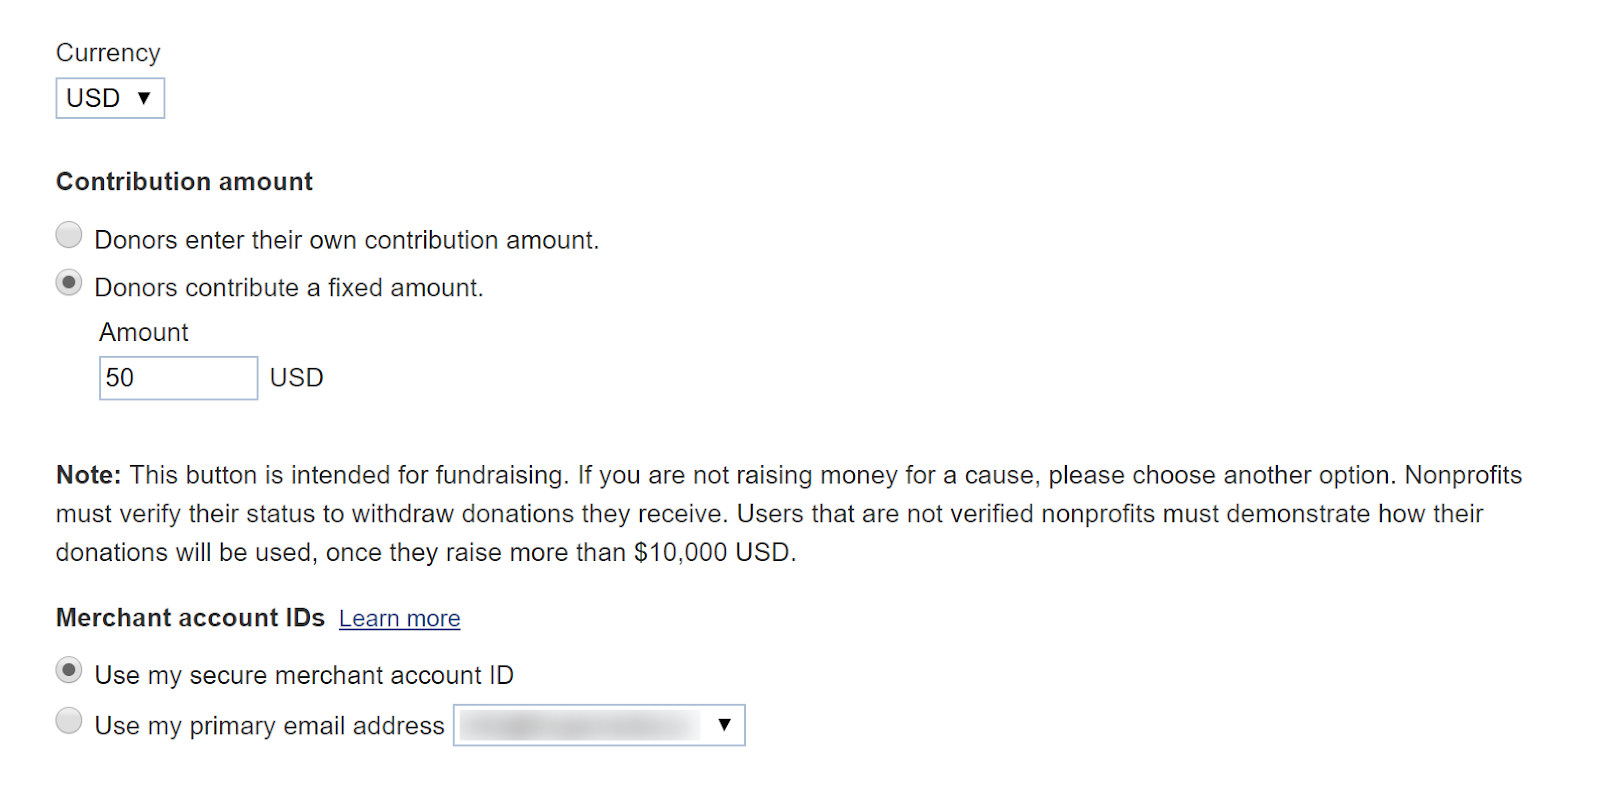
Next up, you can choose which currency you would like to accept the donations in. Usually, people prefer the USD, but if you want it to be any other currency, you can add that in this section.
Now, you have two options when it comes to how much users can donate. You can either select the fixed option amount, which displays a fixed amount which, depending on your users, can result in higher donations. The second option gives your users complete control by letting them donate any amount they see fit.
Another thing you want to do in this window is selecting the account ID for accepting payments. You can either choose your merchant account ID or your regular email address. As a best practice, we would recommend the merchant ID since it keeps email addresses hidden.
Step Four (Optional)
This step isn’t required per se, but setting this up helps in customizing your donation options to a certain degree.
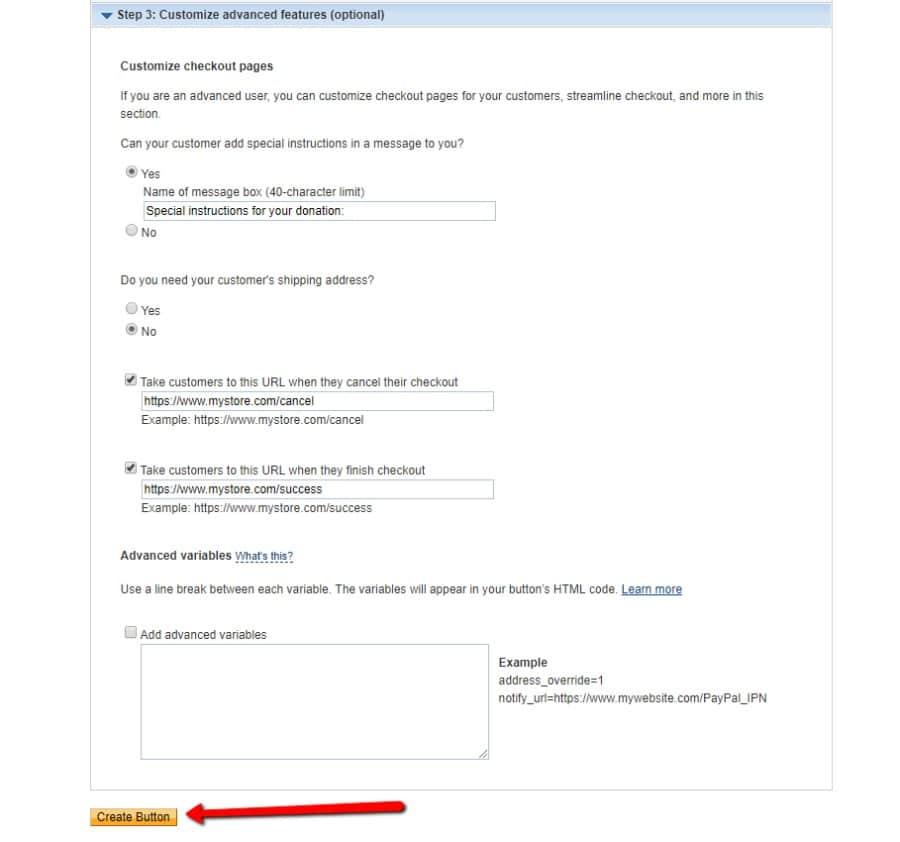
In this section, you’ll see the following options:
- Allow contributors to send you messages:
This can be used for official correspondence and other purposes as well.
- Ask for the contributor’s shipping address:
This can come in handy if you’re sending out gifts and giveaways to your patrons.
- Send contributors to external URLs when they cancel or complete a donation:
This removes the default payment completion page and, in its place, redirects the users to either a Thank You or a Free Downloads page on your website. This can prove beneficial in converting customers since you’re essentially giving back to them.
When you’re done with this step, Click on Create Button to continue.
Step Five
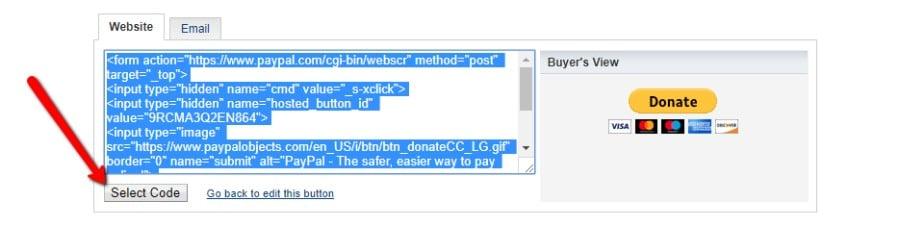
In the next step, you’ll be led to a page which contains a link. This is the link you will copy/paste into your WordPress site to create a button.
Copy the entire code and either paste in a code editor or keep it copied to the blackboard.
Step Six
Now, visit your WordPress admin dashboard to add the donation button. The best part about the code we copied in the previous step is that you can add it anywhere. It could be a page, a post, or on a particular widget.
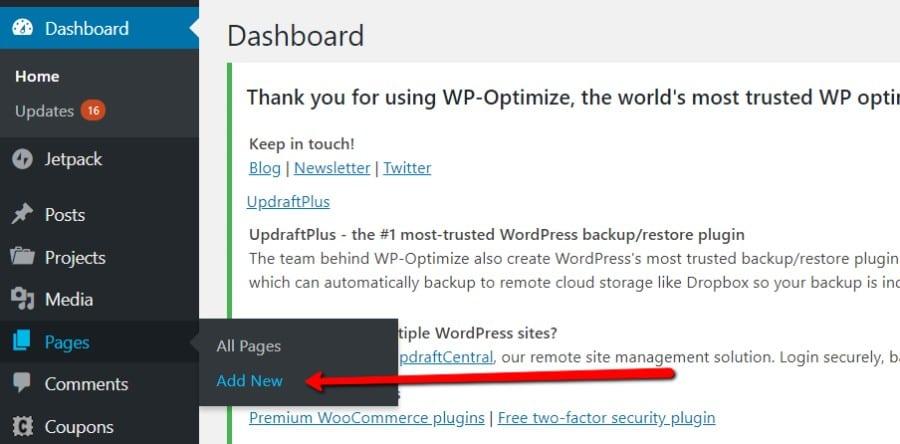
If you have a Donation page ready, you can skip this step. If you don’t, then from your WordPress dashboard, navigate to Pages > Add New.
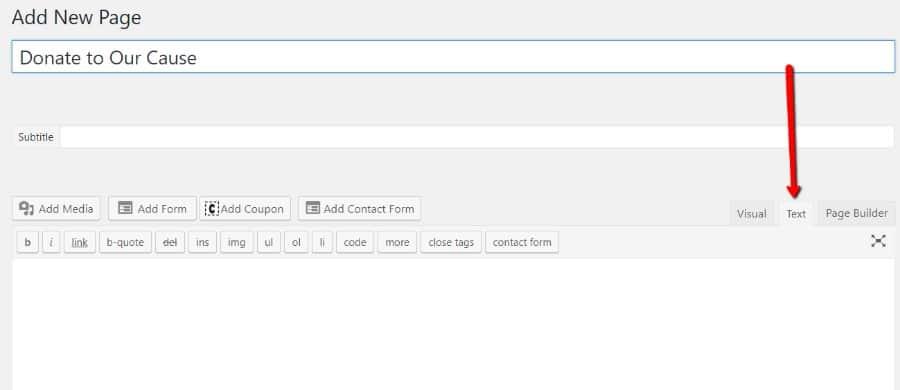
Give your new page a title and description and then open up the text-editor on Gutenberg. It’s essential we have a text-editor open since pasting code on the visual editor will not work.
Paste the code below your title and description like this:
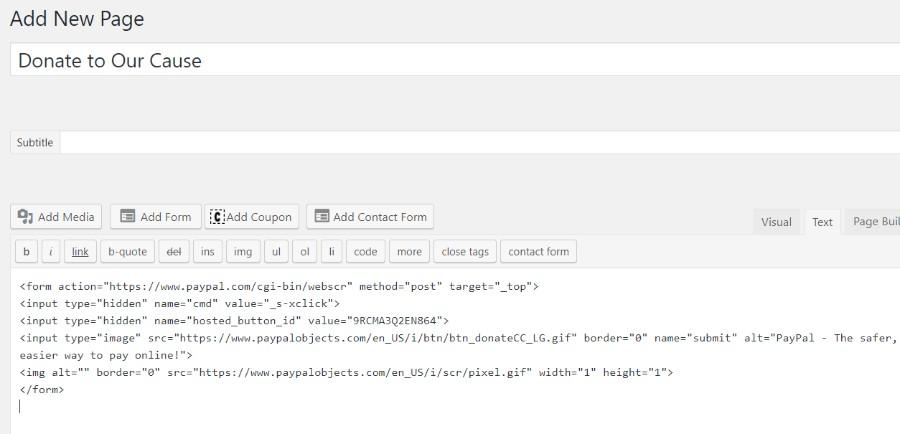
When you click on Preview, you will see the PayPal donation button active on the site.

How to Add PayPal Donate Button to WordPress Widget Area
If you want to add the Paypal donation button on a WordPress widget, you can do so in the following manner. Now, the benefit to adding thee button on a widget is that it allows you to integrate multiple pages with the button without having to copy/paste in many times.
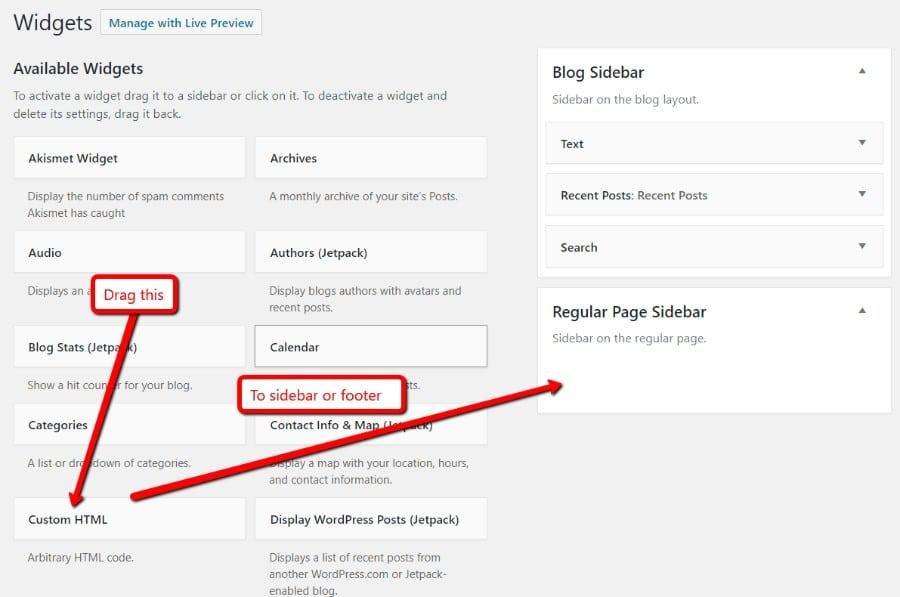
To add the donation to widgets, navigate to Appearance > Widgets.

When you’re in the Widgets section, you will find the option of adding Custom HTML code. You can drag and drop that widget within the header and footer – depending on your requirement.
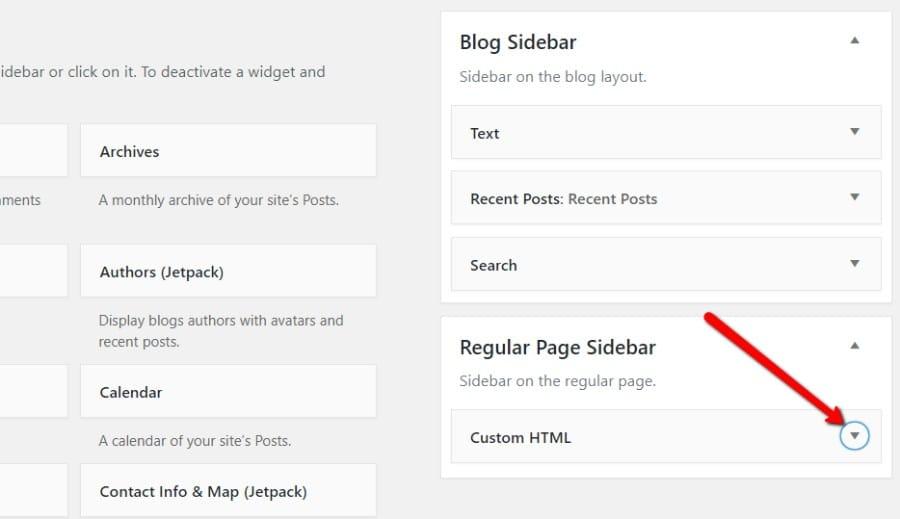
When you’ve placed the widget in the right place, click on the downward arrow icon.
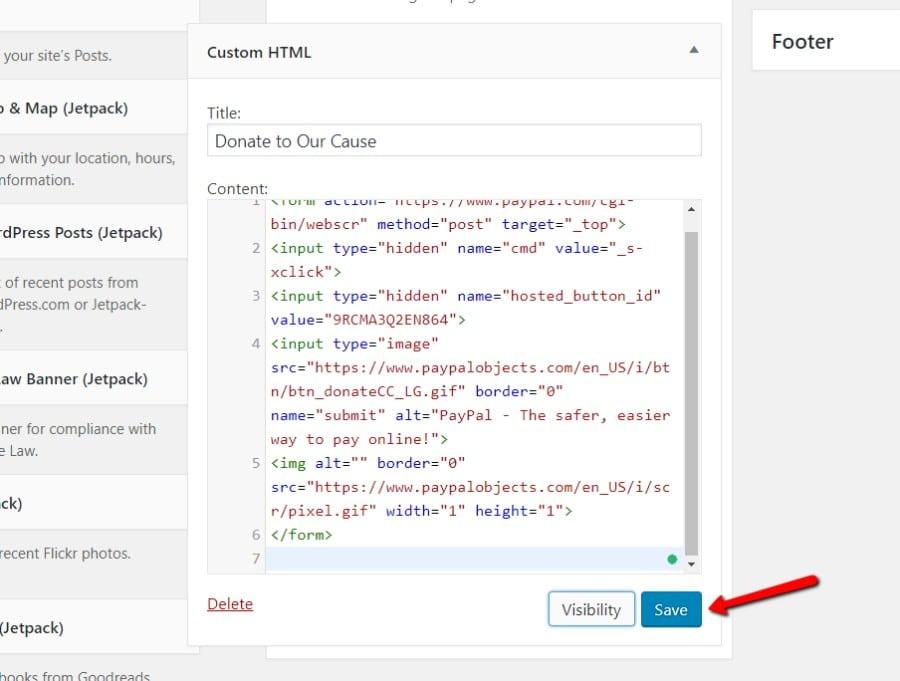
After adding the title of the widget, all you have to do is past the PayPal donation code that you copied into the Content area. Don’t forget to click on Save when you’re done.
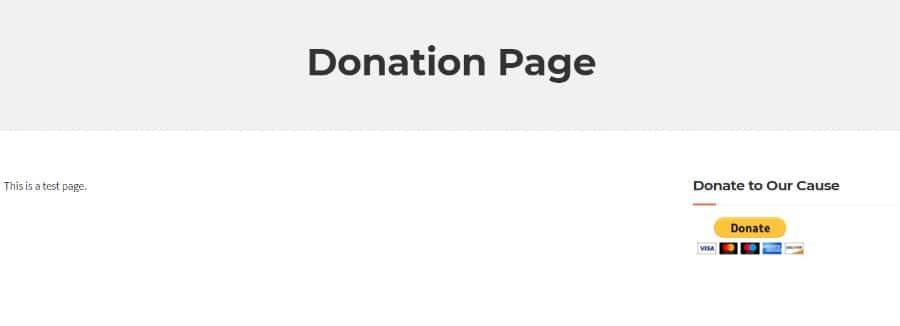
Since we placed the page on the sidebar, it should pop-up on every page of the website. Similarly, if you set it at the header or footer, the donation button would appear there.
Now, if you performed this step similar to us and the sidebar isn’t displaying the button, then there might be an issue with your WordPress theme’s support for sidebars. You can solve this error by setting up a sidebar on WordPress.
Summary
All of what we discussed above is technical to a certain degree; there is no denying that. However, if you want to add a PayPal donation button on WordPress, then this method is the best since it allows you to customize every aspect of your control.
Another method you can use to add the button is to use a plugin. While that process is beneficial, it just adds more dependency to your processes.
We hope you faced no difficulty in adding a PayPal Donate button on WordPress.
Need the help of professional WordPress developers so you can focus on your core business? Let’s talk about it here.
Check out more WordPress tutorials:
- How to Create a Dropdown Menu in WordPress – Very Simple Method!
- How to Make a Divi Child Theme in Easy, Simple Steps
- How to Edit WordPress Code – HTML, CSS, PHP (Easy Guide)
- How to Get the WordPress Post ID Quickly and Easily
- How to Embed iFrame Code on Your WordPress Site